
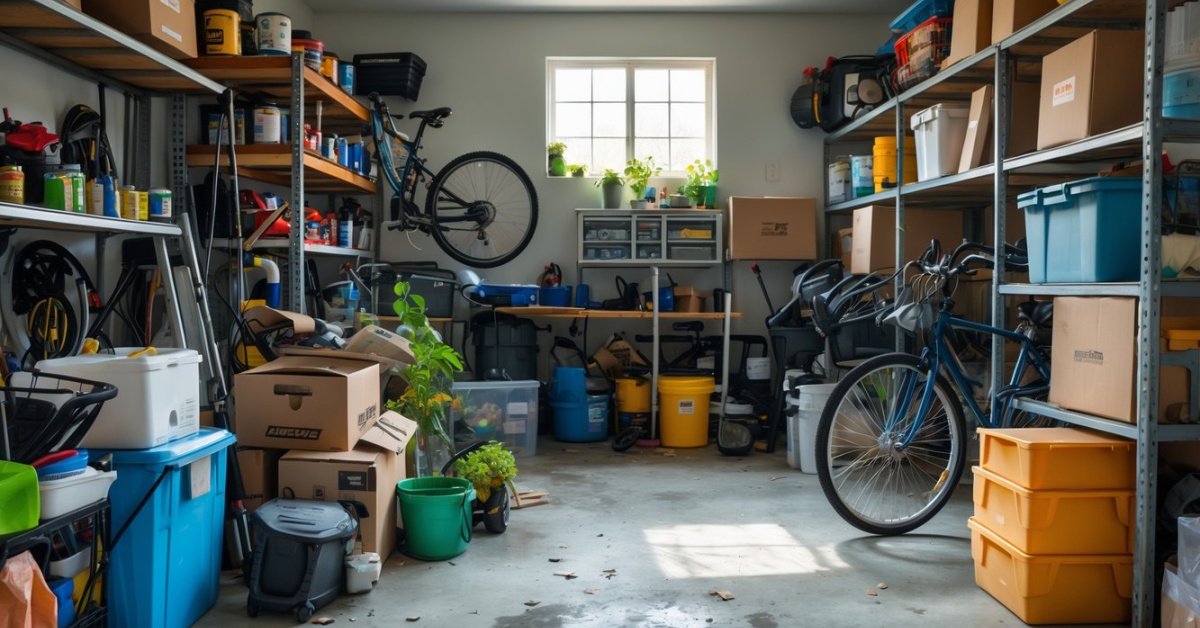
Every time I step into my garage I feel like I’m entering a maze of forgotten sports gear half-empty paint cans and stuff I swear I’ll use someday. If your garage looks anything like mine used to you know how quickly things pile up. It’s easy to let clutter take over until you can barely find your way to the door.
I finally decided enough was enough and set out to reclaim my space in just one weekend. It sounded impossible at first but with a little planning and determination I turned chaos into order. If you’re ready to park your car inside again or just want to find that missing hammer you’re in the right place.
Why Declutter Your Garage in One Weekend
Decluttering your garage in a single weekend transforms how you use the space right away. I streamline projects fast, maximizing available square footage and revealing hidden storage options, which lets you rethink your entire layout. Quick results motivate consistent organization, making it easy to maintain a clean garage through every season.
Immediate decluttering spotlights what you actually use, minimizing time spent sifting through old paint buckets or obsolete equipment. I work through garages with outdated exercise gear, loose screws, and tangled cords—restoring surfaces for new storage installations, workbenches, or home gyms. This concentrated approach eliminates decision fatigue and minimizes disruption to your daily routine.
One focused weekend accelerates the process, letting me install creative vertical shelving, bike racks, or work zones before clutter returns. By acting in one go, you get space back for parking, hobbies, or even home office conversions, instead of having projects drag out for weeks. This method reveals each zone’s real potential and paves the way for lasting garage optimization.
Prepping for a Successful Garage Declutter
Getting ready before diving in makes the process quicker and much less stressful. I find careful planning always produces the best garage decluttering results.
Setting Realistic Goals and Expectations
Establishing realistic goals guides my garage projects to success. I always clarify how I’ll use the garage space—parking, gear storage, workbench area, or a home gym. I calculate available hours in a weekend and match my plans to that window, knowing each 200 square feet takes about 2-3 hours to process. I also remind myself that every item might not get perfectly organized at first, and some follow-up may be required, especially for specialized installations like slat walls or cabinets. By breaking tasks into smaller zones—such as tools corner, seasonal decor section, or sports rack—I help homeowners see quick progress.
Gathering Supplies and Tools
Gathering essential supplies keeps decluttering efficient. I always bring sturdy trash bags, heavy-duty gloves, cardboard boxes, clear storage bins, labels, permanent markers, and basic hand tools. For garages with larger clutter, I rent or borrow a utility cart and a shop vacuum. I keep cleaning supplies ready—brooms, dustpans, and multipurpose cleaners—so I can tidy as I go. For reorganization, I pick up shelving, pegboards, and stackable bins suited to the storage needs identified during the goal-setting phase. Picking up everything before starting helps me streamline every garage makeover and avoid unnecessary delays.
Step-By-Step Guide to Decluttering Your Garage
Transforming a cluttered garage starts with efficient steps that I use on every project. I focus on sorting items quickly, making intentional decisions, and creating a clean slate for storage or creative upgrades.
Sorting and Categorizing Items
Grouping everything by use streamlines any decluttering job. I clear the garage and sort sports gear, tools, gardening supplies, seasonal decor, paint cans, and leftover DIY materials into defined piles. I keep categories tight—nothing stays ungrouped—so I can see inventory and locate duplicates. This zoning approach supports smart space planning for anything from wall racks to ceiling storage.
Deciding What to Keep, Donate, or Discard
Evaluating every category helps maximize garage potential. I ask when each item was last used, if it fits current goals, and if it’s in working condition. Belongings I use weekly, like power tools or bikes, always stay. Well-maintained extras or duplicates, such as spare rakes or unopened cabinets, move to donation bins. Nonfunctional or broken items, including rusty hand tools, old paint, or expired chemicals, go straight to trash or the next local recycling event. Quick, confident decisions maintain declutter momentum and support flexible garage space.
Cleaning and Prepping the Space
A clean surface sets the foundation for organization or custom builds. I sweep out dust, cobwebs, and debris. I wipe all vertical and horizontal surfaces, and check for signs of leaks or pests. Any wall damage gets patched and painted, with floors swept and stains scrubbed. Open, fresh garage bays make it easy to roll in shelving, hooks, or modular units—each tailored to support new uses like a home workshop, fitness zone, or laundry setup. Every organized garage I create starts with this prep, keeping the space ready for any function the owner needs.
Organizing and Optimizing Storage
Every optimized garage has a custom system built around the owner’s real habits and space constraints. I focus on storage that keeps floors clear, zones defined, and everything within reach.
Choosing the Right Storage Solutions
I install wall-mounted shelving for bins—great for seasonal gear and camping supplies. I use ceiling racks above the garage door for seldom-used items like holiday decorations and old files. I add pegboards for hand tools—drivers, hammers, tape measures—to make them instantly visible. For larger items like bikes, ladders, or kayaks, I anchor heavy-duty hooks and vertical racks to studs. I recommend transparent bins for sports gear and hardware, while locking cabinets work best for paint, solvents, and sharp objects. Custom rolling workbenches double as storage and project surfaces for DIYers. Each solution gets tailored to the available square footage and future garage use cases.
Labeling and Arranging for Easy Access
I always label every container and shelf face to cut search time. I arrange items used weekly—like cleaning supplies and toolboxes—at chest height and near the main garage entrance. I cluster similar items (for example, lawn chemicals together, sports gear by season, auto fluids in a single cabinet) to control clutter after big projects. Safety items, such as fire extinguishers and first aid kits, are clearly marked and stored by exit doors. I use color-coded labels for families, so each cabinet or bin matches its owner’s gear. This approach eliminates confusion, even months later, and motivates consistent upkeep.
Maintaining a Clutter-Free Garage
A garage stays functional and welcoming with intentional upkeep. I integrate maintenance into everyday life to prevent clutter from coming back.
Creating Simple Habits and Routines
I keep order in every garage project with repeatable routines. I always return items to labeled bins or hooks after each use—sports gear, tools, and seasonal decor, for example. I run monthly checks to clear out junk mail, packaging, or donations that accumulate. I update storage zones at the change of each season—rotating gardening tools forward and winter gear to less-accessible spots. I track what comes in by staying conscious of new purchases, only adding items with a place already set aside. I combine reminders with family calendars, like a Saturday sweep before weekend chores, to keep every area tidy and used as planned.
Conclusion
Taking charge of my garage over a single weekend turned out to be more rewarding than I ever expected. It’s amazing how much more space and peace of mind I gained just by dedicating a couple of days to the task.
Now I can easily find what I need and actually enjoy spending time in my garage. I hope my experience inspires you to dive in and transform your own space—you might be surprised at how much lighter and more organized you’ll feel.


