
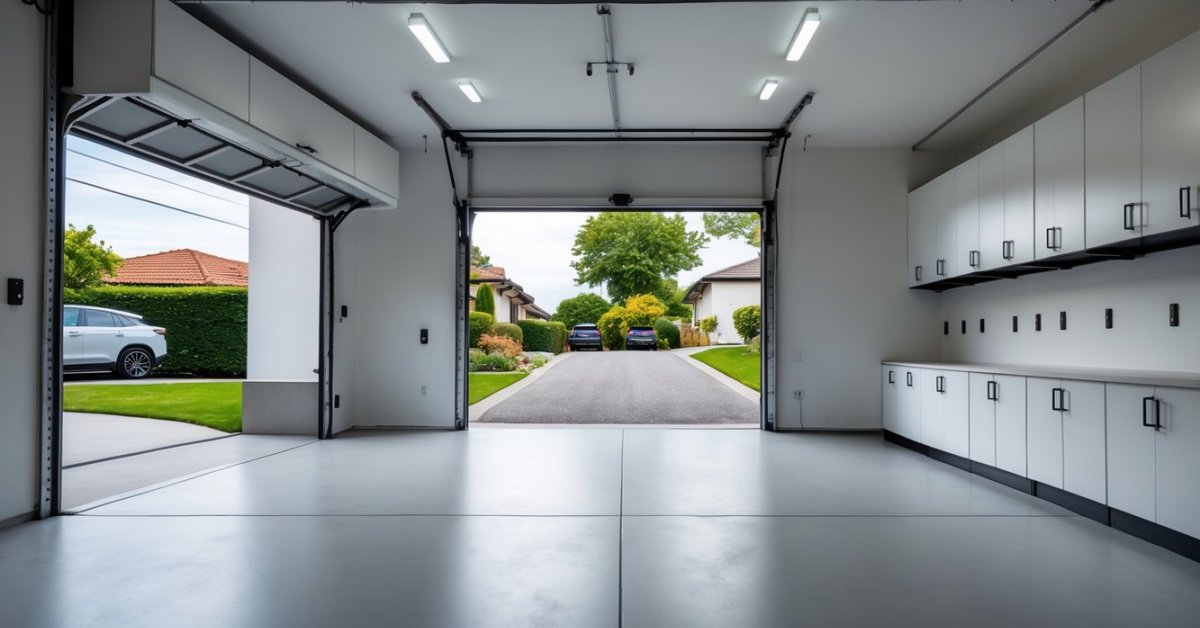
Whenever I step into my garage I dream of having a dedicated spot where I can tinker fix and create without hunting for tools or clearing off clutter. A solid workbench turns that dream into reality giving every project a home base and making even the smallest repairs feel satisfying.
Setting up a garage workbench might sound overwhelming but it’s easier than you’d think. With a little planning and the right setup I’ve found my workspace not only keeps me organized but also inspires me to tackle new projects. Let’s dive into how you can build a workbench that works for you and your garage.
Choosing the Right Location for Your Garage Workbench
Picking the right spot for a garage workbench shapes every project’s efficiency and comfort. I look at these key factors:
- Garage Layout
Optimizing a workbench location starts with considering traffic flow. I avoid tight corners or paths blocking car access or walkways. Most households use side walls for larger benches, leaving room for vehicles or bikes.
- Natural and Artificial Lighting
Selecting a spot near a window maximizes daylight exposure. I supplement with overhead LED fixtures or adjustable lamps for nighttime tasks.
- Accessible Power Outlets
Locating the bench near outlets prevents tangled extension cords. I sometimes install new outlets above the bench for added convenience.
- Ventilation
Ventilating work areas matters most for jobs involving fumes. I choose spots near garage doors or windows and recommend a fan for paint, adhesives, or wood finishing.
- Proximity to Storage
Integrating the workbench next to storage shelves keeps tools within reach. I anchor wall-mounted racks or cabinets above and alongside the bench so I can maintain organization.
- Space for Movement
Ensuring at least 36 inches’ clearance in front of the bench allows safe, unrestricted movement when handling large items or equipment.
- Floor Condition
Flat, dry surfaces help keep the bench stable and safe. I check for cracks, uneven concrete, or sloping floors before placement.
Applying these criteria ensures each workbench fits homeowners’ needs and boosts the utility of any garage.
Essential Tools and Materials Needed
Selecting the right tools and materials forms the foundation of an efficient, versatile garage workbench. I always prioritize durability, adaptability, and ease of installation in every setup.
Workbench Materials
I choose sturdy workbench materials to ensure reliability and adaptability for various projects.
- Bench Top Options — Plywood, MDF (medium-density fiberboard), and solid hardwood each offer different strengths. Plywood resists warping, hardwood withstands impacts, and MDF provides a smooth, affordable surface.
- Frame and Legs — 2×4 or 4×4 lumber for DIY builds, or heavy-gauge steel frames for modular systems, both support stable platforms for cutting, assembling, and repairs.
- Fasteners and Hardware — Wood screws, carriage bolts, and corner brackets anchor components securely, supporting load-bearing surfaces and preventing wobble.
- Protective Finishes — Polyurethane or varnish on wood tops shields surfaces from chemicals and moisture, extending longevity.
- Pegboard and Panels — Pegboard or slatwall panels mounted above the workbench help organize often-used tools for easy access.
Must-Have Tools and Accessories
I include a core set of tools and accessories to enhance garage workbench productivity.
- Measuring Devices — Tape measures, levels, and squares ensure accurate layouts and assembly.
- Cutting Tools — Hand saws, utility knives, and jigsaws cover routine wood, metal, and plastic trimming tasks.
- Fastening Tools — Cordless drills, impact drivers, screwdrivers, and pliers support assembly and installation work.
- Clamping Solutions — C-clamps, bar clamps, and bench vises hold materials in place for safety and precision.
- Lighting Fixtures — LED shop lights, desk lamps, and under-cabinet strips provide focused illumination for intricate projects.
- Power Outlets and Surge Protection — Multi-outlet strips and surge protectors allow simultaneous use of multiple electric tools with safety in mind.
- Small Parts Organization — Plastic bins, drawer organizers, and magnetic strips keep screws, nails, and drill bits sorted and visible.
| Material/Tool | Type/Spec. | Function |
|---|---|---|
| Plywood, MDF, Hardwood | 3/4″ thickness typical | Bench top surfaces |
| 2x4s, 4x4s, Steel | S4S lumber, 16-gauge steel | Workbench frame, legs |
| Polyurethane/Varnish | Oil-based or water-based | Surface protection |
| Pegboard/Slatwall | 1/4″ or heavy-duty panels | Tool organization |
| Tape Measure/Level | 25 ft, bubble or laser | Precision measuring |
| Cordless Drill | 18V-20V lithium-ion | Fastening, drilling |
| LED Shop Light | 4000 lumens typical | Workspace illumination |
| Storage Bins/Strips | Modular plastic/metal | Small parts control |
By combining these essential workspace resources, I create workbenches that maximize both function and flexibility for every garage.
Step-by-Step Guide to Setting Up a Garage Workbench
I approach every garage as an opportunity to create an efficient workspace that adapts to any project’s needs. With the right steps, I maximize both utility and flexibility for every homeowner seeking a practical garage workbench.
Planning Your Workbench Design
I start by mapping out the workbench footprint based on intended uses, such as woodworking, automotive repairs, or crafting. I measure available wall or floor space and consider existing storage and door swings before drafting a layout. Tall users, for example, benefit from a higher bench height, around 38-42 inches, whereas most DIY users do well with a height near 34-36 inches.
I select durable worktop materials based on activities: hardwood for heavy impact work, MDF for general crafts, and plywood as a cost-effective option. I always factor weight capacity—aiming for a minimum of 250 pounds for moderate use—when choosing frame materials and joinery. I include overhangs if frequent clamping is necessary, which boosts versatility.
Assembling or Building the Workbench
I follow my design plans precisely when cutting lumber or steel for the frame and worktop. I assemble the frame using lag bolts, brackets, or heavy-duty screws for a solid structure. I attach the work surface, ensuring it sits level from end to end to prevent frustrating tilts or instability. For modular designs, I mount lockable casters to the base, allowing easy movement across the garage.
I inspect every joint and surface for wobble or flex, reinforcing with corner braces if I detect movement. I finish the worktop with polyurethane or oil, depending on user preference, to protect against spills or stains. I then check for ample knee clearance, making sure seating and tool storage fit comfortably beneath the bench.
Installing Storage and Organization Solutions
I integrate vertical storage above and adjacent to the workbench, choosing pegboards, slatwall panels, or magnetic strips for everyday tool access. I mount adjustable shelving for power tools or bins, spacing them to fit larger items like toolbox trays or organizers. I install drawer units below for hand tools and fasteners, using dividers to prevent clutter.
I arrange electrical outlets at bench height for easy tool connection, ensuring I maintain code compliance for safety. I add LED strip or task lights overhead to minimize shadows across the work surface. For dust-prone activities, I include a small vacuum mount or dust collection attachment close to the workbench. This streamlined arrangement keeps tools accessible, surfaces clear, and every project within easy reach.
Safety Tips for Your Garage Workspace
Staying aware of common garage hazards keeps your workspace efficient and accident-free.
- Fire Prevention with Garage Workbench Safety
I always separate flammable liquids like paints, solvents, and fuels and store them in metal safety cabinets, away from electrical tools and outlets.
- Electrical Safety in an Optimized Garage
I check that extension cords, outlets, and power strips can handle the load. I never daisy-chain surge protectors, and I install GFCI outlets near workbenches where tools and water might mix.
- Lighting Safety for Garage Projects
I install sufficient overhead and task lighting to eliminate shadows that can hide hazards, focusing on LED fixtures for maximum visibility and lower heat output.
- Ventilation Tips for Garage Workspaces
I use fans, open windows, or an exhaust system to circulate air when working with paints, stains, or adhesives to reduce exposure to toxic fumes.
- Personal Protective Equipment Use
I always wear safety goggles, work gloves, and sturdy shoes for projects involving cutting, sanding, or heavy lifting. I keep dust masks and hearing protection on a nearby pegboard hook.
- Floor Safety in Garage Work Zones
I sweep often and immediately clean spills to prevent slips, especially if working with oil or sawdust. I apply a rubber mat or epoxy coating to prevent falls and cushion feet.
- Tool Safety and Maintenance
I return sharp tools like saws and utility knives to dedicated storage after use, away from walkways. I inspect power tool cords for damage regularly and replace worn-out equipment.
- Child and Pet Safety in the Garage
I keep tools, chemicals, and small hardware locked or high up. I install childproof locks on drawers and doors if kids or pets enter the workspace.
Maintaining these safety strategies helps my clients focus on projects and creativity, not avoidable setbacks.
Maintenance and Upkeep of Your Workbench
Regular Cleaning
I keep all workbench surfaces and storage areas free of dust, sawdust, and debris after every session. I use soft brushes, microfiber cloths, or a shop vacuum on bench tops and shelves. I wipe down metal tools and hardware with a clean cloth to prevent rust and corrosion.
Periodic Inspection
I check structural joints and fasteners monthly for loosening, shifts, or signs of wear. I tighten bolts and screws, look for cracks in lumber or bench tops, and inspect metal frames for rust. I address minor issues quickly to avoid bigger repairs later.
Protecting Surfaces
I apply a protective finish or sealant on wood workbench tops every year. I reapply oils like Danish oil or polyurethane sealants for added moisture resistance, if needed. For metal surfaces, I use a light coat of machine oil or anti-rust spray.
Maintaining Storage Solutions
I clean and reorganize pegboards, bins, and drawers quarterly. I return tools and supplies to labeled locations. I check hooks and holders for stability, replacing damaged components to keep everything accessible and safe.
Lubricating Moving Parts
I lubricate vise screws, drawer slides, and caster wheels a few times each year. I use manufacturer-recommended lubricants on all moving hardware, keeping functionality smooth.
Managing Safety Supplies
I store and replace safety gear like gloves, goggles, and ear protection as soon as I see wear. I inspect fire extinguishers and first-aid supplies for expiration dates during each seasonal garage sweep.
| Task | Frequency | Products/Tools Used |
|---|---|---|
| Surface Cleaning | After each use | Vacuum, microfiber cloth, mild cleaner |
| Structural Inspection | Monthly | Screwdriver, wrench, flashlight |
| Surface Sealing | Annually/as needed | Polyurethane, Danish oil, machine oil |
| Storage Organization | Quarterly | Labels, bins, pegboards |
| Lubricating Moving Parts | 3-4 times per year | Manufacturer-approved lubricants |
| Safety Gear Check | Seasonally/after use | Visual inspection, replacement items |
Conclusion
Setting up a garage workbench has truly transformed how I approach projects and repairs at home. With a dedicated space that’s both organized and efficient I feel more motivated to tackle DIY tasks and creative ideas without stress.
A little planning and regular care go a long way in keeping the workspace safe and functional. I hope my experience inspires you to create your own garage workbench and enjoy the satisfaction that comes with a well-organized space.


