
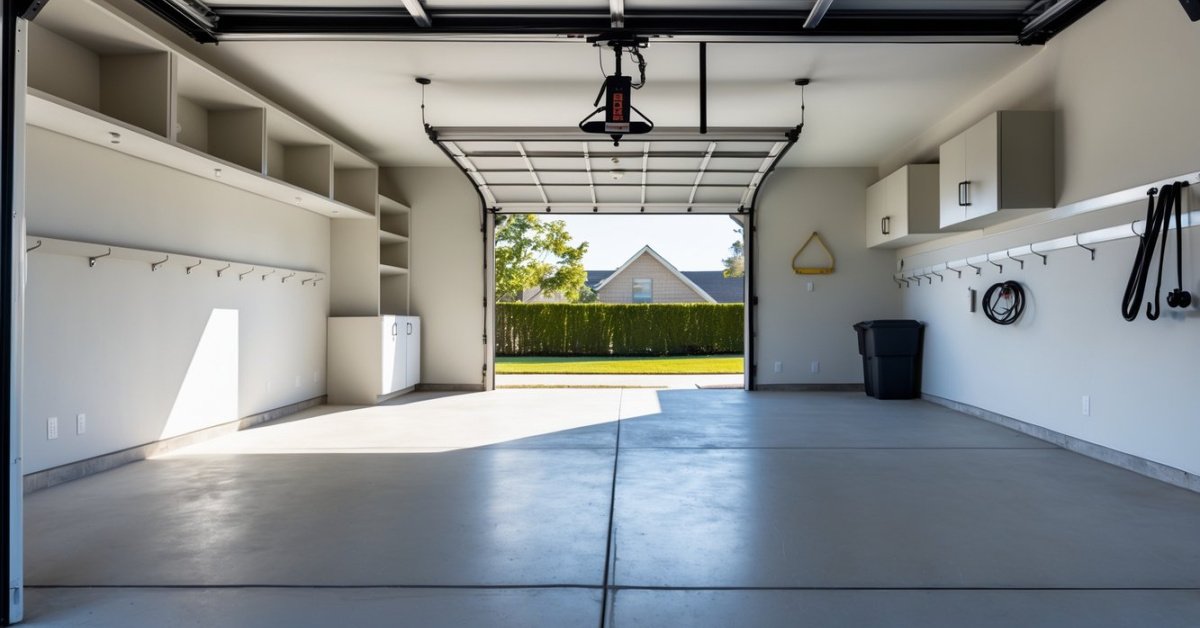
Every time I walk into my garage workshop I’m reminded how much good storage matters. Lumber can quickly take over the space if I’m not careful and nothing slows down a project like searching for the right piece of wood in a messy pile. Keeping lumber organized isn’t just about tidiness—it also keeps it in better shape for the next build.
I’ve learned that storing wood the right way saves me time money and frustration. Whether I’m working with long boards or smaller offcuts finding a system that fits my space has made all the difference. If you want to make the most of your garage workshop and protect your investment it’s worth setting up a smart lumber storage solution.
Understanding Lumber Storage Challenges in a Garage Workshop
Temperature swings create expansion and contraction cycles in stored lumber, leading to warp, cup, and twist—especially if boards like pine or oak stay flat on damp concrete. Moisture is a persistent risk in most home garages, with leaks, condensation, or tracked-in rain affecting hardwoods and softwoods. Insufficient airflow encourages mildew or mold, especially on stacks of plywood or MDF sheets.
Limited vertical clearance or narrow walkways commonly restrict the use of large wall- or ceiling-mounted storage solutions for sheet goods or long boards. In garages doubling as laundry or entry spaces, poorly placed lumber racks obstruct routine foot traffic or day-to-day living tasks.
Pest control is critical in residential garages. Mice, insects, and other pests sometimes nest in undisturbed wood piles. Without regular inspection and space between boards, infestations go unnoticed and damage wood stock.
Multiple project types—like cabinetry, framing, or outdoor furniture—mean I need to sort species, grade, and dimensions to keep scrap, offcuts, and new boards visible and ready for use. Storing rough and finished lumber together exposes the entire collection to dust, splinters, or accidental dents.
Garage workshops used by multiple household members see lumber storage solutions strained by varied working styles, tool access, and priorities for safety and aesthetics.
Preparing Your Garage Workshop for Lumber Storage
Getting a garage workshop ready for lumber storage takes careful planning and smart upgrades. I always prioritize protecting lumber from damage and maximizing every inch of available space.
Assessing Available Space
First, I measure the entire workshop and identify open wall sections, ceilings, and corners. Open wall sections work well for vertical racks, while ceilings above the vehicle or work zone support horizontal overhead storage. Corners accommodate smaller, custom builds like rolling carts or upright bins. I mark out areas with painter’s tape to visualize potential obstacles, like doors, vehicles, or built-in cabinets. I sort lumber types and sizes before finalizing placement, since long stock needs more clearance and short pieces fit in tighter spots. Keeping main work paths clear ensures the workshop stays functional, even after adding storage.
Controlling Moisture and Temperature
Keeping lumber stable means controlling humidity and temperature in my garage. I use a vapor barrier or heavy-duty plastic on the floor if concrete stays damp, minimizing ground moisture contact. I install a hygrometer to monitor relative humidity; I aim for a range of 35% to 55%, which helps prevent warping and mold. If high humidity persists, I use a dehumidifier or portable A/C unit. For leaks, I check the roof, gutters, and door seals closely, especially after heavy rain. Running fans or adding small vents maintains airflow, helping lumber dry evenly. Shelving built several inches above the floor prevents direct contact with cold or wet surfaces, further protecting the wood.
Best Lumber Storage Solutions
Storing lumber efficiently in a garage workshop keeps your workspace clear and your wood in top condition. I focus on customizable solutions that make the most of every square foot.
Horizontal Racks
Horizontal racks create orderly, accessible storage along garage walls for lumber lengths up to 16 feet. I install steel or heavy-duty wood brackets spaced 16 to 24 inches apart, keeping boards supported across their full length to prevent sagging. Adjustable shelf heights give flexibility for storing sheet goods, trim, and offcuts. For added protection, I lift racks at least 6 inches above the floor to minimize moisture exposure from concrete. Open-ended designs help everyone slide in and out full-length boards easily.
Vertical Storage Options
Vertical storage takes advantage of high ceilings and narrow wall areas. I build sturdy box-style bins from plywood or steel pipe to slot boards and sheet goods upright, allowing fast sorting by width and species. If installing along a side wall, I anchor bins securely at both the floor and ceiling to contain heavy loads safely. I leave at least two inches of air gap behind stored lumber for airflow, reducing the chances of moisture buildup. Removable slats or adjustable dividers fit awkward offcuts or wide panels with ease.
Overhead Storage Systems
Overhead storage systems free up vital floor space in a busy garage. I mount ceiling racks made from steel grid panels or custom frames above doors or away from garage door tracks. Boards stored overhead stay safe from spills and pests when I position racks at least 18 inches below the ceiling for airflow and clear access. I prefer designs with removable bars for easy loading and unloading of long planks, beams, or plywood sheets. Pulley-based lift systems offer extra convenience for heavier bundles, especially in compact workshops where every inch matters.
Organizing Different Types and Sizes of Lumber
Organizing lumber with space optimization in mind makes every board accessible and keeps the workshop clean. I design every garage system to distinguish between full-length pieces, offcuts, and sheet goods, so each gets its ideal storage spot.
Sorting by Wood Type and Length
Sorting by wood type and length streamlines material selection during project planning. I separate hardwoods like maple or oak from softwoods such as pine to reduce confusion and minimize handling time. I keep long boards—anything over 6 feet—grouped together and stack short pieces in adjacent bins. I use color-coded labels or chalk markers on each rack to show species and typical lengths stored there. Grouping boards this way helps owners instantly see inventory, limiting waste and duplicate purchases.
Storing Offcuts and Sheet Goods
Storing offcuts and sheet goods maintains efficiency and protects valuable materials. I install dedicated vertical bins for small offcuts—pieces under 2 feet—so owners don’t waste time digging through piles. For plywood or MDF panels, I build heavy-duty rolling racks with support cleats to keep sheets upright and flat. If space allows, I mount wall brackets high up for panel storage, keeping floors clear. I always recommend storing sheet goods off direct contact with concrete to avoid moisture absorption. These systems help users quickly retrieve what they need and keep creative options open for every woodworking project.
Maintenance Tips for Long-Term Lumber Storage
Maintaining stored lumber keeps it usable for every project and preserves a functional, organized garage. I’ve integrated these practices in hundreds of garage conversions to consistently deliver optimal results.
Regular Inspections
Scheduled inspections spot issues before they turn costly. I check every stack for moisture, pests, and surface wear at least once each month. Look for darkened patches or soft spots, which signal rot. Discovering sawdust piles or nibble marks usually means insects or rodents have moved in. I run my hand across boards to feel for unexpected warping or cupping. If the garage shares HVAC ducts or suffers sudden humidity swings, I recommend checking lumber more frequently during spring and fall.
Rotating and Re-stacking Lumber
Rotating and re-stacking increases longevity and cuts risk of uneven drying. I always move lower boards to the top in each stack every three to four months. This rotation exposes every piece to similar airflow and light. If a board sits directly on another board or near a damp wall, I separate them using spacers to promote even ventilation. Organized restacking gives me the chance to reassess inventory, dispose of damaged scraps, and update labels for easy identification. Regularly shifting lumber also refreshes the arrangement, minimizing pressure points that could cause permanent bends.
Conclusion
Storing lumber in a garage workshop might seem tricky at first but a little planning goes a long way. I’ve found that when I take the time to set up my storage system and stick to a maintenance routine my workspace stays safer and more enjoyable.
Every workshop is different so it’s worth experimenting with what works best for your space and woodworking style. With the right approach you’ll protect your investment and make every project a little easier.


