
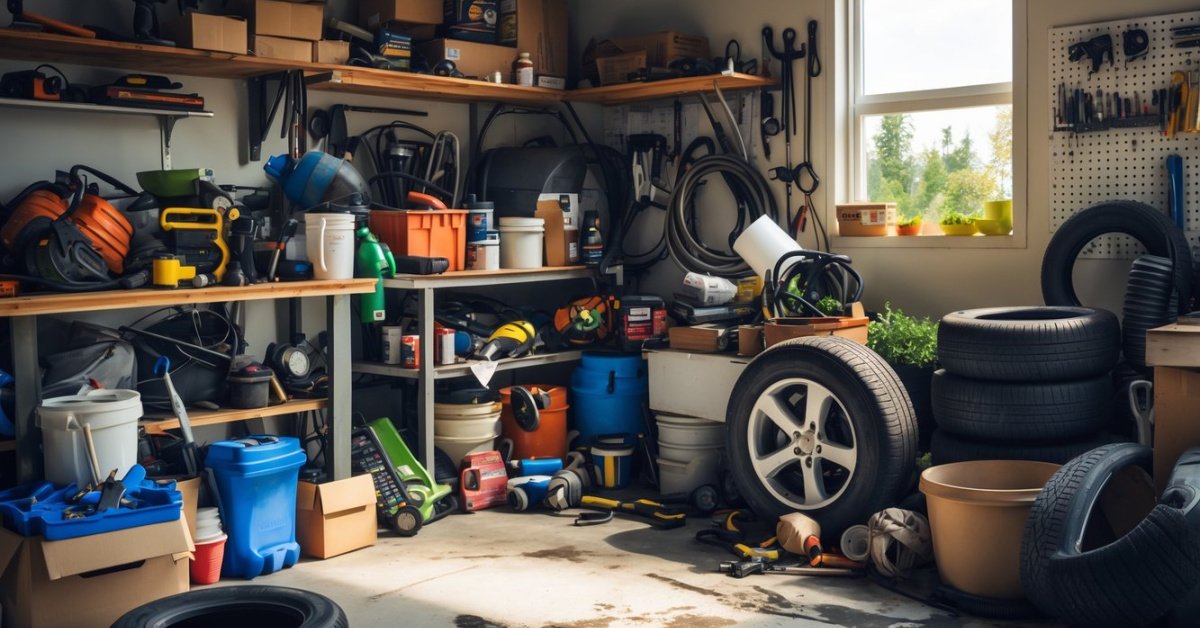
If you’re like me your garage is always in need of a little more space. Between tools bikes and boxes it’s easy for things to get crowded fast. That’s why I love the idea of a workbench that folds away when I’m not using it.
Building a foldable workbench isn’t just about saving space—it’s about making your garage work for you. With a few basic tools and some simple materials I can create a sturdy workspace that tucks neatly out of the way. Whether you’re a weekend DIYer or just need a spot to tackle projects this solution keeps things organized without sacrificing functionality.
Benefits of a Foldable Workbench for Garages
Space-saving design maximizes garage functionality. I see foldable workbenches transform tight areas because they drop flat against walls when not in use. My clients with small garages, such as those under 250 square feet, usually gain at least 10–16 extra square feet of floor space with a foldable design.
Easy storage enhances garage organization. I find that a stowed-away workbench creates space for tool carts, storage bins, or parking that fixed benches often block. Hinged surfaces and locking brackets allow owners to clear work surfaces in seconds.
Customizable height and surface area adapt to various garage needs. I recommend foldable workbenches for tasks ranging from woodworking to gardening since many designs let you set workspace height or length to match project demands.
Increased versatility supports both temporary projects and regular hobbies. My clients often use their foldable benches for seasonal tasks—like bike repairs or holiday decor—and value reclaiming space during busy months.
Improved safety keeps garages less cluttered. I notice fewer tripping hazards and better traffic flow around foldable workbenches compared to permanent setups.
Cost efficiency emerges through DIY builds and multipurpose use. I advise owners that hardware and materials for foldable workbenches often cost under $100, less than ready-made fixed units, and support changing home needs for years.
Planning Your Foldable Workbench
Planning a foldable workbench for a garage starts with identifying exact needs and available space. I always help clients balance durability, function, and flexibility to make garage work safer and projects easier.
Choosing the Right Materials
Selecting materials for a foldable workbench impacts stability and long-term value. I rely on 3/4-inch plywood or medium-density fiberboard (MDF) for the top because both resist warping under heavy use. For frames, kiln-dried 2×4 lumber supports weights up to 300 lbs for typical tool loads. I suggest steel folding brackets with at least a 200-lb rating for secure, repeated use. Using corrosion-resistant screws and folding hardware keeps parts smooth and operational, especially in garages with fluctuating humidity.
Sizing and Space Considerations
Measuring intended space accurately ensures a foldable workbench fits into garage layouts without blocking storage zones for bikes or bins. I recommend at least 48 inches in work surface length and 18-24 inches in depth to allow for multipurpose tasks, with minimum 36-inch clearance when down for walkways. Marking wall studs is essential for secure wall mounting. I customize bench sizes based on specific garage layouts, considering both the working area and storage needs for unique homeowner routines. For low ceilings or tight corners, I adjust folding directions or add casters for even greater flexibility.
Tools and Supplies Needed
I use these specific tools and materials to build a sturdy, space-saving foldable workbench for garages:
Essential Tools
- Cordless drill and driver: I install hinges and brackets with adjustable speed drills.
- Circular saw or miter saw: I make accurate, straight cuts on plywood and lumber using 15-amp saws.
- Tape measure and square: I measure and mark wood with 25-foot tape measures and carpenter’s speed squares.
- Orbital sander: I smooth surfaces and edges with 120-grit discs.
- Stud finder: I find wall studs for secure bracket and frame mounting.
- Clamps: I hold glue-ups and assembly steady with 12-inch bar clamps and spring clamps.
Core Materials
- 3/4-inch plywood or MDF (24″x48″ or 30″x60″): I use moisture-resistant panels for the work surface.
- Kiln-dried 2×4 lumber (8-foot lengths): I use four to six boards for the frame and braces.
- Heavy-duty steel folding brackets (16″-24″): I choose pairs rated up to 500 lbs for firm support.
- 3-inch deck screws and 1-1/4″ wood screws: I use corrosion-resistant screws for all connections.
- Zinc-plated hinges (3-inch butt hinges): I create the folding action with durable hardware.
- Lag bolts or toggle bolts (3/8-inch): I mount the frame securely to studs or masonry.
Optional Supplies
- Wood glue: I increase bond strength between joints with waterproof glue.
- Paint or polyurethane: I use durable finishes to protect surfaces and match garage décor.
- Rubber bumpers: I add self-adhesive pads under the folded work surface to prevent wall scuffing.
| Tool or Supply | Purpose | Recommended Spec |
|---|---|---|
| Cordless drill | Bracket/hinge installation | 18V, variable speed |
| Circular/miter saw | Plywood/lumber cutting | 15A, carbide blade |
| Tape measure/square | Measuring and marking wood | 25’ tape, 7” square |
| Plywood or MDF | Work surface | 3/4”, 24”x48” or 30”x60” |
| 2×4 lumber | Frame support | Kiln dried, 8’ length |
| Steel folding brackets | Folding support | 16”-24”, 500 lb rating |
| Deck and wood screws | Assembly hardware | 3”, 1-1/4”, zinc plated |
| Hinges | Work surface folding | 3” steel butt hinges |
| Stud finder/lag or toggle bolts | Secure wall attachment | 3/8” diameter, zinc plated |
I select every item to maximize stability, long-term durability, and seamless use in a busy garage environment. Experienced DIYers and first-timers alike achieve the most efficient project workflow with all these tools and materials gathered ahead of assembly.
Step-by-Step Guide: How to Build a Foldable Workbench for Garages
I design garage workspaces that save space and boost utility, so foldable workbenches always deliver big results for my clients. I’ve outlined each step to guarantee your project maximizes garage space and ensures long-term functionality.
Building the Workbench Frame
I cut kiln-dried 2×4 lumber to match my chosen workbench length and width, usually between 48–60 inches long and 20–30 inches deep for tight garages. I assemble the outer frame using 3-inch wood screws, reinforcing each corner with wood glue for stability. I add two or three cross supports spaced evenly for extra strength and clamp each joint before drilling. This build method resists flexing when handling heavy items like power tools, paint cans, or small engines.
Installing the Hinges and Folding Mechanism
I mount heavy-duty steel folding brackets on the frame’s interior, lining them up with wall studs. I use a 48-inch level for consistent alignment, marking pilot holes before fastening the brackets with 2.5-inch lag screws. I ensure the brackets swing smoothly and hold their lock position without wobble. If the mechanism feels stiff, I lubricate moving parts with silicone spray. These brackets allow the frame to fold nearly flush against the garage wall, preserving precious floor space.
Attaching the Work Surface
I center a 3/4-inch plywood or MDF panel over the completed frame, letting it overhang by about 1 inch on all sides. I secure the panel to the frame with 1.5-inch wood screws every 8 inches along the perimeter. For owners needing extra durability, I add a layer of polyurethane or water-based finish to protect against glue spills, oil, or stains. This quick step makes the surface last twice as long and makes cleanup easier after each use.
Mounting the Workbench to the Wall
I always locate wall studs and use a chalk line to mark the top edge of the frame’s final position at a comfortable working height, usually between 34–40 inches above the floor. I anchor the folding frame to studs using 3-inch lag screws through pre-drilled pilot holes in the bracket backing plates. I confirm that the frame is level before final tightening. For garages with cement block walls, I use 1/4-inch sleeve anchors for a rock-solid mount. After folding the bench down to test the action, I add magnetic catches or spring-loaded latches for a tight, rattle-free closure against the wall. This finishing touch keeps the workspace clean and streamlined, ready for any garage project.
Tips for Safe and Effective Use
- Check Folding Mechanisms Regularly
I inspect all hinges, brackets, and locking pins before each use for signs of looseness, bending, or rust. Squeaking or resistance during folding often signals the need for lubrication or tightening.
- Clear Surroundings First
I clear bikes, cords, storage bins, or tool carts from the fold-down zone. Tripping often happens when items block the path of the workbench as it drops open or folds up.
- Distribute Loads Evenly
I place heavier items like miter saws or toolboxes closer to wall-mounted sections, since the back supports hold more weight. Uneven weight on corners or edges sometimes causes tipping or bracket strain.
- Avoid Overloading the Surface
I stick to the manufacturer-recommended or tested load limit. Even heavy-duty 2×4 frames sag or fail with repeated overloading, especially if wet materials sit too long.
- Lock the Bench Securely During Use
I listen for a positive click or feel for solid bracket engagement before starting work. If hinges sometimes slip or lock unevenly, a quick brace check prevents accidents.
- Keep the Surface Clean and Dry
I wipe off solvent spills, sawdust, or moisture after each project, since wetness can warp wood or corrode hardware. Routine cleaning keeps the folding action smooth.
- Monitor Wall Attachments
I check wall studs, lag screws, and mounting plates every few months for shifting. Garages with temperature swings often see wall fasteners loosen over time.
- Store Hazardous Materials Safely
I move flammable items, paints, or battery chargers away from the folding work surface. Placement away from electrical outlets lowers fire risk during bench use.
- Supervise Young Helpers Closely
I make sure kids stand back when folding or unfolding the bench, since pinched fingers or sudden drops happen without warning. For families, I add visible caution stickers for extra safety.
- Add Lighting Near the Work Zone
I install task lighting or battery-powered lamps over the bench area, since shadows increase mistakes during cutting or assembly. Bright, focused lighting improves visibility and accuracy during detailed work.
Maintenance and Storage Suggestions
I maintain foldable workbenches in client garages by checking hardware every 3 months for signs of rust or loosening. Tightening screws on folding brackets like the Rockler Heavy-Duty type or applying a silicone-based lubricant to steel pivots preserves smooth operation. I clean surfaces after messy projects using a damp microfiber towel, ensuring sawdust and residue don’t accumulate. Minor scuffs on painted or laminated tops come off with a melamine sponge.
Storage space in garages stays organized when I design mountings that keep the folded workbench less than 6 inches from the wall. I stash sharp tools in mounted bins above the work surface, avoiding clutter underneath the bench. I recommend vertical storage shelves for paint, adhesives, and power tool cases to maximize floor space.
I handle humidity fluctuations in garage environments by adding desiccant packs inside mounted utility cabinets near the workbench, controlling moisture that could warp plywood or MDF surfaces. In cold zones, I tell clients to use felt bumpers at fold points to prevent sticking on frosty mornings. Integrated wall hooks let me keep extension cords, rags, and safety glasses within reach but off the surface.
If a client expects to move or reorganize the garage, I install quick-detach wall plates for easy relocation of the entire foldable unit. This way, a workbench can move with new storage racks or even to another garage.
Conclusion
Building my own foldable workbench has completely changed how I use my garage. I love having a sturdy workspace that disappears when I need extra room for storage or parking. It’s rewarding to know I created something that fits my space perfectly and keeps my tools organized.
If you’re thinking about tackling this project don’t hesitate. With a little planning and effort you’ll have a workbench that makes every DIY task easier and keeps your garage clutter-free. Happy building!


