
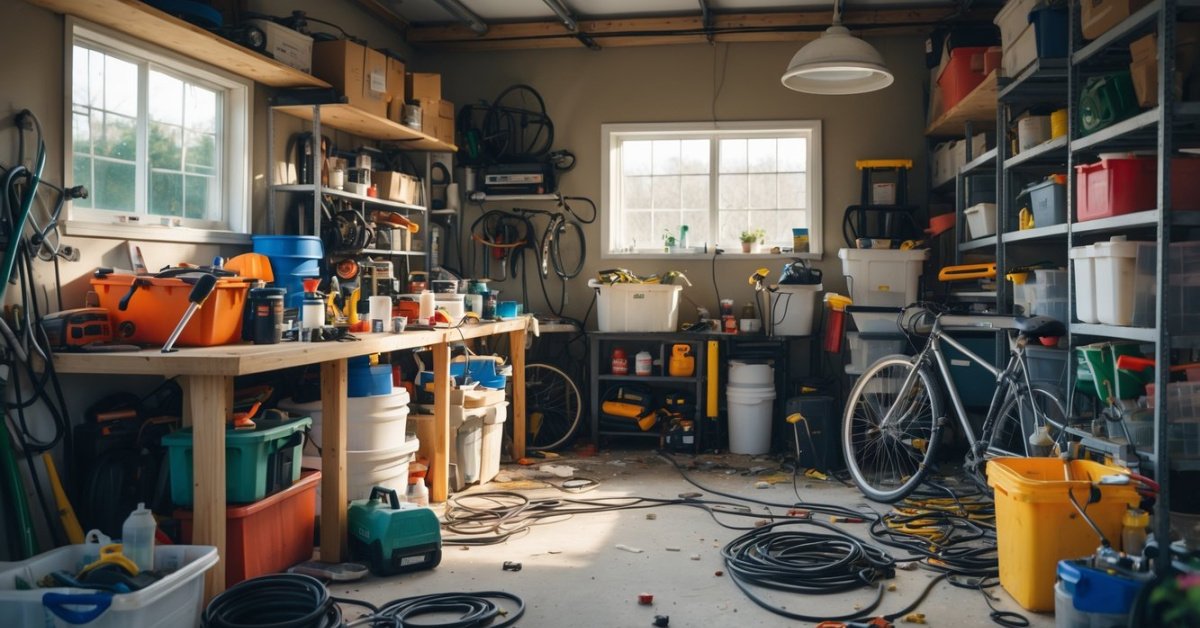
Turning a garage into a cozy living space is always exciting but I know it comes with its own set of challenges. One of the biggest hurdles I faced was figuring out where to put all the stuff that used to live in my garage. Suddenly every box tool and bike needed a new home.
I quickly realized that adding smart storage solutions during the conversion could make all the difference. With a little creativity I found ways to keep my new space organized and clutter-free while still making it feel warm and inviting. If you’re about to tackle a garage conversion and wondering how to handle storage you’re definitely not alone.
Planning Your Garage Conversion
Smart planning shapes every successful garage conversion. Careful design ensures storage stays central in the transformation, keeping your new space practical and welcoming.
Assessing Your Storage Needs
Accurate assessment of storage needs always streamlines a garage conversion. I start by listing categories like tools, bikes, lawn gear, sporting equipment, holiday decor, and household overflow. I measure and photograph existing storage items, then estimate how often owners access each group. Items used seasonally, like snow shovels or camping gear, might fit in overhead racks, while daily-use tools need easy-to-reach racks or cabinets. I also note special requirements, such as locking cabinets for chemicals or weatherproof bins for outdoor gear.
Setting a Budget for Storage Solutions
Targeted budgeting for storage solutions guides design decisions during a garage conversion. I research current prices for built-in cabinets, modular shelving, overhead racks, and specialty storage like bike lifts or track wall systems. Owners can see pricing differences—for example, custom cabinetry ranges from $400 to $1,500 per unit, while adjustable shelves usually stay under $200 per section. My budgets align with overall project goals, balancing long-term durability with immediate affordability. Tables like the one below clarify average costs for common storage options:
| Storage Solution | Typical Cost Range (USD) |
|---|---|
| Built-in Cabinets | $400 – $1,500 per unit |
| Modular Shelving | $60 – $200 per section |
| Overhead Storage Racks | $120 – $400 per rack |
| Bike Lifts | $40 – $150 each |
| Lockable Storage Bins | $20 – $60 each |
Visible, quantifiable planning lets owners prioritize which solutions improve their garage conversion the most.
Popular Storage Options for Garage Conversions
Garage conversions need smart storage to keep new living spaces open and functional. I focus on blending storage into the room’s layout, enhancing both usability and style.
Built-In Cabinets and Shelving
Built-in cabinets and shelving give garage conversions a streamlined look. I design floor-to-ceiling cabinets for tools or housewares, corner shelving for books or decor, and wall-to-wall units for media centers. I prefer adjustable shelves for added flexibility. This approach maximizes available wall space, especially when storing seasonal gear or sports equipment. Built-in solutions also increase home value according to the National Association of Home Builders’ 2022 Remodeling Report.
Overhead Storage Systems
Overhead storage systems use unused ceiling space, especially in single-car garages or tight spaces. I install heavy-duty ceiling racks for storing holiday decorations, storage bins, or camping gear. Ceiling-mounted tracks with sliding bins keep seldom-used items out of the way. Safety-rated hardware holds up to 600 lbs per unit, allowing clients to reclaim floor space and keep walkways clear.
Multi-Functional Furniture
Multi-functional furniture makes small garage conversions more versatile. I include lift-top coffee tables with built-in compartments, storage benches, and murphy beds with shelving. Convertible sofas with hidden storage keep spaces uncluttered and accessible. This furniture adapts to guest rooms, home offices, or play areas, supporting changing needs without sacrificing style or comfort.
Maximizing Space Efficiency
Maximizing every square foot matters most in a garage conversion. I always focus on optimizing space so clients enjoy both comfort and functionality in their upgraded area.
Utilizing Vertical Space
Utilizing vertical space efficiently increases storage capacity without crowding the floor. I install tall shelving units to store bins and boxes, mount pegboards on walls for tools, and add wall hooks for bikes or sporting gear. Installing overhead racks near the ceiling lets homeowners keep seasonal items out of sight yet accessible. For example, in one project, mounting shelves up to 8 feet high accommodated large plastic storage containers and sports equipment, freeing up valuable lower space for daily activities.
Creative Corner Storage Ideas
Using corners creatively turns commonly wasted space into high-value storage. I design custom corner shelving for gardening tools, stackable bins, or holiday decorations. Installing angled corner cabinets adds hidden storage, perfect for smaller items or household supplies. Corner workbenches with integrated cabinets fit snugly in tight spots, providing workspace and storage without disrupting open areas. In several conversions, adding a diagonal shelving unit in a corner created organized compartments for everything from paint cans to camping gear, maximizing both accessibility and space efficiency.
Common Mistakes to Avoid When Adding Storage
Even with smart storage solutions, I see some mistakes repeat themselves during garage conversions. Avoiding these lets me create a space that’s open, efficient, and built to last.
Overcrowding the Space
Overcrowding the garage conversion reduces walkable area and blocks access to everyday essentials. I keep floor space open by choosing wall-mounted shelving, slim cabinets, and overhead racks for bulkier items like holiday décor or camping gear. Before adding new units, I measure for clearances and sketch the layout to see how storage affects movement paths. Too many bins or furniture pieces make the room feel cramped and less inviting, especially in compact garages.
Choosing the Wrong Storage Materials
Choosing improper storage materials shortens the lifespan and functionality of the space. I only use durable, moisture-resistant materials like powder-coated steel, high-grade plywood, or polymer shelving for garages susceptible to temperature swings and humidity. Cheap particle board or poorly finished cabinets warp and deteriorate fast, especially in regions with high humidity or during seasonal changes. I match finishes to both the environment and the intended use—open wire racks for airflow with tools, sealed cabinets for valuable electronics or linens. Right material selection guarantees storage stays sturdy, clean, and visually cohesive with the renovated space.
Tips for a Successful Storage Upgrade
Making storage upgrades work seamlessly in a garage conversion takes thoughtful planning and creative solutions. I focus on methods that keep spaces useful and organized while contributing to the room’s overall aesthetic.
Blending Storage with Design
Integrating storage with design creates a unified, welcoming garage space. I use built-ins in wall recesses, floating shelves aligned above work zones, and storage benches finished in materials matching the room’s palette. Installing cabinetry with concealed pulls and custom paint draws the eye away from clutter, emphasizing design harmony. Using sliding doors on storage units helps maintain clean sight lines, especially in tight spaces. Placing open shelving near work areas keeps items accessible while letting decorative accents personalize the space.
Future-Proofing Your Storage Solutions
Planning adaptable storage lets garage spaces meet changing needs over time. I include adjustable shelving systems to reconfigure heights for new hobbies or gear. Modular storage units—examples include stackable bins or re-positionable pegboards—allow easy expansion without major projects. Opting for track-mounted bike racks or moveable wall hooks helps accommodate family growth or seasonal storage demands. Whenever possible, I select materials that handle temperature and humidity fluctuations, reducing repair and replacement as needs evolve.
Conclusion
Turning a garage into a comfortable living space definitely comes with its storage challenges but I’ve found that a little creativity goes a long way. With the right mix of planning and smart solutions it’s possible to keep everything organized without sacrificing style or comfort.
I’ve enjoyed finding ways to make every inch count and I hope my experience helps you feel more confident as you tackle your own garage conversion. With thoughtful choices your new space can be both beautiful and practical for years to come.


