
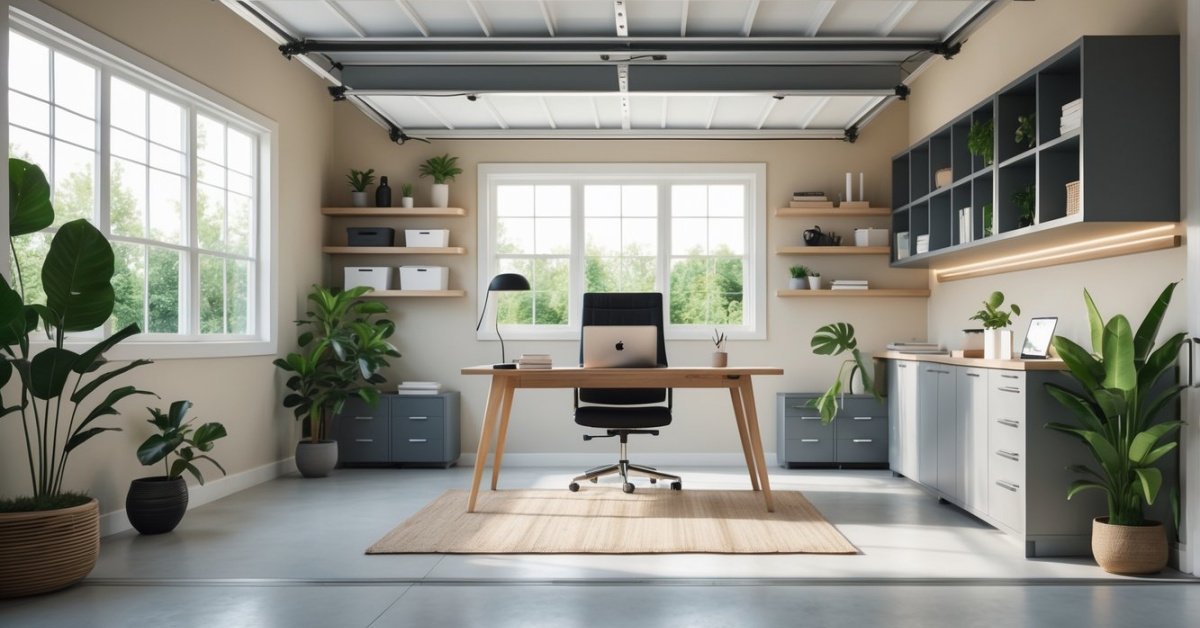
Whenever I walk into my garage I can’t help but notice how dim and uninviting it feels. It’s easy to forget how much a simple change in lighting can transform a space—especially when I’m on a tight budget. Good lighting doesn’t just brighten up the room; it makes every project and task in the garage a whole lot easier.
I’ve learned that you don’t need fancy fixtures or a big investment to get great results. With a few smart choices and a little creativity I can turn my garage into a well-lit and welcoming spot that’s ready for anything. Let’s explore some budget-friendly ways to light up a garage and make it a space I actually want to spend time in.
Why Lighting Matters in Garage Makeovers
Lighting plays a key role in garage makeovers because it determines how functional and welcoming the space feels. Bright, even lighting makes it easy to spot tools, locate hardware, and carry out hobbies like woodworking or vehicle maintenance. Dim or uneven fixtures often limit visibility, creating shadows that can slow down projects or even cause accidents.
By focusing on the right budget lighting upgrades, I transform garages into multi-purpose zones—examples include workbenches, storage corners, or home gyms—where tasks become faster, safer, and more enjoyable. Effective lighting also helps show off a clean floor, organized shelves, and freshly painted walls, making the garage look finished instead of forgotten.
Proper task lights, shop lights, and LED strips increase brightness without raising energy costs or requiring complicated installations. I always match lighting to each garage zone. Adjustable strip lights work well above workbenches; overhead LED fixtures boost general brightness for parking or major cleanups. Good garage lighting transforms storage areas into usable living space, boosting both practicality and property value.
Key Considerations for Budget Lighting
Proper planning transforms garage lighting upgrades into cost-effective improvements that boost functionality and visual appeal. Assessing both the structure and intended use helps ensure every dollar creates value.
Assessing Your Garage Space
I start garage lighting projects by evaluating the physical layout, measuring square footage, and noting ceiling heights. I identify obstacles, like support beams or shelves, and check for existing electrical outlets and wiring access points. I look for areas with insufficient natural light, paying attention to corners and workbench zones. Mapping out these physical elements, I can better position light fixtures to maximize coverage and minimize shadows.
Determining Lighting Needs and Goals
I clarify garage functions with owners before making lighting recommendations. Task areas, like tool benches and workspaces, benefit from concentrated, bright lighting—for example, under-cabinet LED strips near benches. Open zones for cars or storage call for wide, even overhead lights, like energy-saving LED shop lights. Zones for hobbies, such as crafting or gym spaces, require adjustable or focused lights. By establishing primary activities and prioritizing where visibility matters most, I choose budget fixtures and solutions that match needs without unnecessary extras.
Top Budget Lighting Options for Garages
Upgrading garage lighting on a budget transforms dark, underused areas into bright, versatile spaces for hobbies or storage. I focus on practical solutions that provide reliable illumination without overspending.
LED Shop Lights
I find LED shop lights ideal for most garages needing strong, even lighting. These fixtures mount easily to ceilings or rafters and deliver daylight-level brightness with minimal power consumption. Many models feature plug-and-play installation, making them perfect for quick upgrades. For instance, a 4-foot LED shop light typically produces 4,000–5,000 lumens—enough to illuminate a 200-square-foot workspace. Multi-pack deals often drop per-unit costs under $20.
Motion Sensor Lighting
Motion sensor lights add hands-free convenience and improve safety, especially in garages used for parking or storage. I often install these in entryways or above workbenches, where quick access is critical. Battery-powered strips or bulb socket adapters work well for renters or temporary setups. Wired motion-sensing fixtures start around $15, while plug-in and battery versions offer flexible placement on shelves or walls.
Strip and Rope Lights
Flexible strip and rope lights work best in corners, around workbenches, or inside shelving where task lighting is essential. LED strips provide uniform, customizable lighting that follows contours or fits tight spaces. Peel-and-stick backing simplifies installation under cabinets or along pegboards. Working with clients, I often select 16-foot waterproof LED strips for less than $20, giving focused illumination without glare.
DIY Upcycled Fixtures
I encourage creative use of old lamps, mason jars, or hardware store components to build unique DIY fixtures. A simple shop clamp light or a retrofitted pendant can offer effective lighting while keeping costs low. Many clients repurpose old metal reflectors or industrial wire baskets to make rugged task lights for under $10 per unit using basic wiring kits. This approach adds personality while solving lighting challenges affordably.
Installation Tips for Affordable Garage Lighting
Upgrading garage lighting works best when I follow safe practices and efficient layout methods. I rely on practical steps that increase brightness, use energy wisely, and make the space work better for any project.
Safety Precautions
Safety plays a key role in every garage lighting upgrade I do. I always turn off power from the main breaker before removing or installing any fixtures. I double-check with a voltage tester before touching wires because even low-voltage LED fixtures can pose a shock risk. I use proper wire connectors and never overload outlets or extension cords—overloaded wiring can trigger circuit trips or fire hazards.
Ladders must sit on even surfaces and I secure them before reaching up to install shop lights or strip lights on high ceilings. I wear gloves to protect against sharp metal fixtures and goggles for overhead work. I always follow local codes for electrical work—if I’m unsure, I call a licensed electrician.
Maximizing Coverage and Efficiency
Achieving even, bright lighting takes strategic fixture placement. I position LED shop lights in parallel lines along the longest span of the ceiling—this reduces dark corners and distributes light evenly. For garages with shelves or tool benches, I mount under-cabinet strip lights or clip-on task lights directly above the work zones, which creates focused illumination without casting shadows.
I use reflective surfaces like white walls and ceilings to amplify brightness with fewer fixtures, lowering costs and energy use. For energy efficiency, I choose LEDs rated above 100 lumens per watt and install them with basic motion sensors or timers; these controls keep lights off when the garage isn’t in use. Wherever possible, I chain-link multiple shop light fixtures using integrated plugs, minimizing the need for extra outlets and complex wiring.
My installation method ensures an affordable garage lighting upgrade doesn’t sacrifice safety or function, turning garages into true multi-purpose spaces.
Real-Life Budget Lighting Transformations
I’ve seen basic garages become inviting workshops, gyms, and hobby zones after low-cost lighting upgrades. Here are specific makeovers where affordable fixes made a dramatic impact:
- Double-Car Garage Workshop
I installed two rows of 4-foot LED shop lights along the ceiling, choosing units under $25 each for a 400-square-foot area. These replaced the single bulb in the center, eliminating harsh shadows on workbenches and storage. The new layout brought light levels from 200 to 800 lumens per square meter according to client measurements, making wiring and woodworking tasks much easier.
- Garden Tool and Craft Corner
I added peel-and-stick LED strip lights under shelving and inside deep cabinets for targeted illumination, using less than $40 total. This solved the issue of lost or misplaced tools and small parts, saving owners time during weekend projects.
- Home Gym Area
I swapped out a dated ceiling fixture for a motion-activated LED unit under $35 and positioned two clamp lights near the squat rack. The instant-on lights improved safety for early morning exercise, with feedback that the even coverage boosted motivation to use the gym daily.
- Bike Storage and Mudroom
I used weather-resistant shop lights rated for damp locations in a garage entry zone for under $30 each, creating a bright path to the door and highlighting wall-mounted bike hooks. This approach made after-dark arrivals easier and reduced trip hazards noted by the homeowners.
| Garage Function | Lighting Upgrade | Estimated Cost | Brightness Gain |
|---|---|---|---|
| Workshop | Two rows of 4-ft LED shop lights | $50 | +600 lumens/m² |
| Tool/Craft Storage | LED strip lights under shelves | $40 | Focused, shadow-free |
| Home Gym | Motion-activated LED, clamp lights | $55 | Instant, broad coverage |
| Bike/Mudroom | Damp-rated shop lights | $60 | Improved path lighting |
Every project shows how basic garage spaces transform with strategic lighting, creating optimized zones that serve real needs. I always tailor lighting to the owner’s usage and budget, knowing these improvements can outlast many other upgrades.
Conclusion
Giving my garage a lighting makeover on a budget has truly transformed how I use and enjoy the space. With a little planning and some creative choices I found that brighter and more inviting lighting doesn’t have to break the bank.
Now I look forward to spending time in my garage—whether I’m working on a project or just grabbing a tool. If you’re thinking about upgrading your own garage lighting I hope you’ll feel inspired to try some of these affordable ideas and see the difference for yourself.


