
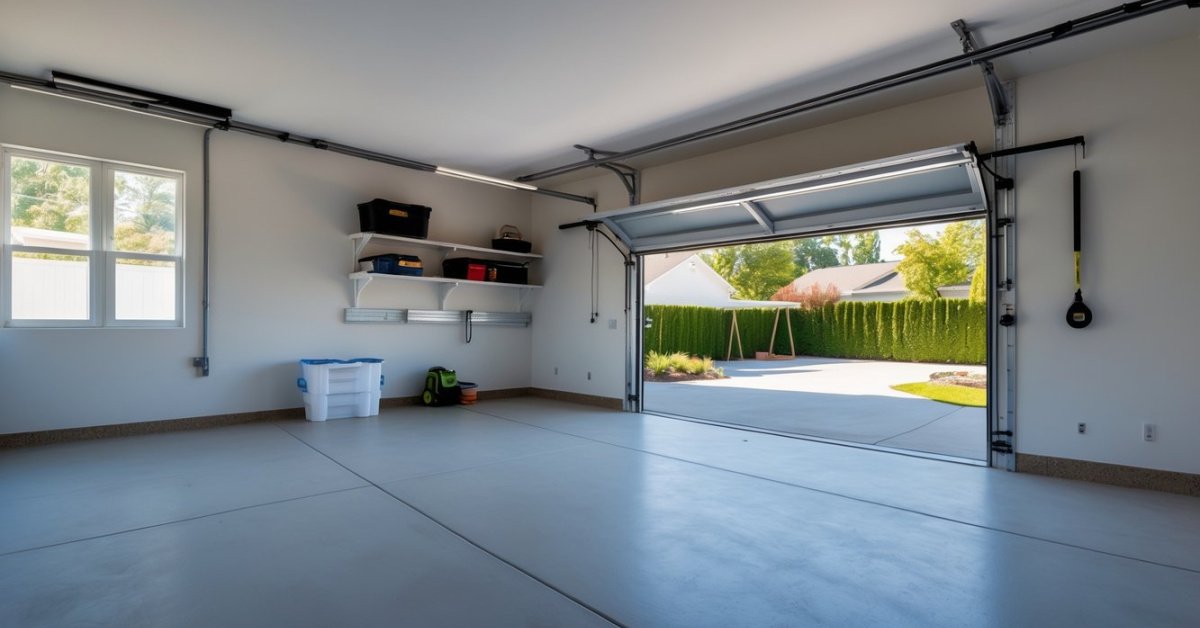
I’ve always dreamed of having a space where I could roll up my sleeves and really get to know my car. There’s just something satisfying about fixing things myself and saving a trip to the mechanic. Setting up a garage workshop for car repairs isn’t just about having the right tools—it’s about creating a spot where I can work comfortably and safely.
Whether I’m tackling an oil change or diving into a bigger project I want my garage to be organized and ready for anything. With a little planning and the right setup I can turn even a small space into my own personal repair shop.
Planning Your Garage Workshop for Car Repairs
Every effective garage workshop for car repairs starts with smart planning and a clear understanding of your available space and required functions. I always tailor layouts to match each owner’s goals and car repair interests.
Assessing Your Space and Needs
Surveying the garage space and mapping out repair uses ensures maximum functionality. I measure floor dimensions and ceiling height for items like car lifts or overhead storage racks. I examine available electrical outlets and lighting for tool power—most garages need at least four outlets and at least one dedicated circuit for high-draw tools. I scan for climate control options like windows or vents to keep the workspace safe and comfortable. I look at vehicle access paths, calculating clearance for opening doors and moving around jacks or engine stands. Prioritizing repair types—oil changes, tire rotations, or engine work—lets me allocate floor and storage space for large and small equipment.
Setting a Realistic Budget
Estimating project costs helps align the garage workshop goals with financial resources. I list out must-haves—workbenches, tool storage, lights—alongside optional upgrades like epoxy flooring or air compressors. I research prices from retailers and suppliers, then outline labor costs if specialized installation is needed. Most single-car garage setups supporting basic car repairs typically run $1,500–$5,000, while more advanced builds with lifts or custom cabinetry approach $7,500–$15,000. I highlight ways to stretch the budget, like repurposing shelving or buying quality used tools. Below is a sample cost breakdown:
| Item | Basic Setup ($) | Advanced Setup ($) |
|---|---|---|
| Workbench | 150 | 800 |
| Tool Storage Cabinets | 300 | 2,000 |
| Lighting Fixtures | 100 | 600 |
| Floor Upgrades | 200 | 2,500 |
| Car Lift | — | 3,000 |
| Electrical Upgrades | 200 | 900 |
| Misc. Tools/Supplies | 550 | 2,200 |
| Total | 1,500 | 12,000 |
Understanding actual spatial and financial limitations always keeps the project focused, ensuring a more productive and enjoyable car repair space.
Essential Tools and Equipment
Organizing a garage workshop for car repairs starts with selecting the right mix of tools, lifts, and safety gear. I focus on compact storage and versatile equipment to maximize both workspace and efficiency.
Must-Have Tools for Car Repairs
I prioritize tools that cover most common repairs without overwhelming the garage. Core items include:
- Socket sets with both metric and SAE standards for compatibility with various car models
- Adjustable wrenches for flexible use with different fastener sizes
- Screwdrivers (flathead, Phillips, Torx) for interior and exterior panels
- Pliers, including needle-nose, locking, and slip-joint for electrical and hose work
- Torque wrench to apply the correct force to bolts and prevent overtightening
- Floor creeper for comfortable movement under low-clearance vehicles
- Oil filter wrench designed for compact storage with stacking containers
- Cordless impact wrench to reduce cord clutter and simplify tire changes
I use stackable toolboxes, wall-mounted pegboards, and rolling carts to keep these essentials accessible and organized without wasting floor space.
Recommended Lifts and Jacks
I look for lifting equipment that fits the garage dimensions I’m working with. High-utility options include:
- Low-profile floor jacks for cars with little clearance
- Sturdy jack stands with adjustable heights for safety during extended repairs
- Portable scissor lifts for small garages where full-size lifts won’t fit
Table: Compact Lifting Equipment for Home Garages
| Equipment Type | Max Lift Height (inches) | Garage Footprint (sq ft) | Max Capacity (lbs) |
|---|---|---|---|
| Low-profile floor jack | 18 | 2.5 | 4,000 |
| Jack stands | 21 | 1 (per stand) | 6,000 |
| Portable scissor lift | 38 | 10 | 6,500 |
Placement of jack storage near the car entry area speeds up setup and keeps bulky equipment out of high-traffic zones.
Safety Gear and Equipment
I always include compact, high-visibility safety gear so it’s easy to find and quick to use. In every optimized garage, I integrate:
- Nitrile gloves and eye protection stored on wall hooks
- Fire extinguisher in a marked location near the garage exit
- LED inspection lights for clear visibility under vehicles and in engine bays
- First-aid kit in a sealed box mounted near the entrance
I mount safety signs and keep spill kits in easy-reach cabinets, combining safety and efficiency without sacrificing workspace.
Organizing and Optimizing Your Workshop Layout
I design garage workshops for function and comfort by prioritizing layout and efficient use of every inch. An organized layout streamlines repair projects and keeps the space safe and inviting.
Storage Solutions for Tools and Parts
I select vertical storage such as wall-mounted pegboards and slatwall panels for storing hand tools, socket sets, and power tool stations. I add heavy-duty shelving in corners or along walls for bulkier items like oil containers, engine parts, or car batteries, when the garage footprint allows. I use mobile tool carts for fast access and flexible storage, especially when owners need to move tools with them around a project. I install small-parts bins or magnetic strips close to the work area for hardware and fasteners to minimize time spent searching during tasks.
| Storage Type | Purpose | Example Placement |
|---|---|---|
| Pegboard/Slatwall | Hand tools, power tools | Above workbench, side wall |
| Shelving Units | Bulk parts, fluids, bins | Back wall, corners |
| Mobile Tool Cart | Frequently used hand tools | Beside vehicle |
| Parts Bins/Magnets | Screws, nuts, bolts, small hardware | On bench, wall racks |
Workbench and Workspace Setup
I install workbenches with durable, oil-resistant surfaces, and I position them where lighting and outlet access are best. I ensure a bench is at least 5 feet long and 2 feet deep if the space supports it, giving room for vice-mounting and subassembly work. I mount power strips and USB charging outlets within arm’s reach to keep cords tidy and eliminate crawling behind benches. I like to add under-bench cabinets or overhead storage for items like torque wrenches, spare filters, and spare bulbs. I allocate an open floor zone at least 4 feet wide around the primary workspace for maneuverability and safety during repairs. If a dedicated lift area exists, I keep floor space clear so mobile equipment and jacks stay accessible.
Optimizing these distinct work and storage zones transforms a cramped garage into a fluid workspace that matches any owner’s project pace and repair needs.
Enhancing Safety and Comfort
Comfort and safety shape every decision I make as a garage optimizer, especially when I transform standard garages into efficient repair spaces. Each upgrade I recommend boosts both personal safety and daily comfort for DIY car repair projects.
Lighting and Ventilation Tips
Lighting and ventilation directly improve safety and working conditions in home garage workshops. I install bright LED overhead strips for even illumination, then add focused task lighting above workbenches and around vehicle bays. These upgrades remove shadows, making small parts and fluid leaks easier to spot. For ventilation, I use exhaust fans or window-mounted units to draw out fumes, then supplement with a portable air purifier if the garage also serves as storage. I position fans to cross-ventilate, pulling fresh air in and pushing vapors and heat out. Natural daylight from windows or skylights can further enhance visibility and comfort.
Managing Hazardous Materials
Safe handling and storage of hazardous materials such as motor oil, brake cleaner, paint, and coolant require dedicated processes. I use metal safety cabinets, then label each shelf for quick identification. I place a spill containment tray below containers of flammable or chemical liquids, then install a wall-mounted fire extinguisher compliant with local code within 10 feet of fluid storage. I recommend mounting Material Safety Data Sheets (MSDS) on a clipboard by the entrance so essential info is always within reach. For used rags, I always specify a metal bin with a tight lid to contain oily residues and reduce fire risk. Any waste oil or coolant gets transferred into approved containers, then I arrange for responsible disposal at city-certified recycling centers.
These steps combine both spatial efficiency and uncompromising safety, letting garage owners enjoy their car repair hobby with confidence and peace of mind.
Tips for Maintaining an Efficient Workshop
Every efficient garage workshop starts with consistent upkeep and smart planning. I use a few proven methods to help my clients keep their spaces functional, tidy, and ready for any repair job.
Keeping Your Space Clean and Organized
I always keep garage workshops clutter-free by assigning every item a dedicated storage spot. Pegboards, magnetic strips, and clear bins help tools and small parts stay visible and accessible, as seen in garages I’ve optimized in older homes with little overhead room. Weekly sweeps and surface wipe-downs keep dust and debris from building up, especially after brake jobs or oil changes. I zone storage areas for chemicals, parts, and power tools to limit cross-contamination and simplify inventory, allowing owners to grab what’s needed for any repair without hunting through piles of clutter.
Scheduling Regular Tool Maintenance
I track tool upkeep on a shared calendar, scheduling monthly checks for corded and cordless power tools like impact wrenches, drills, and grinders. Cleaning and inspecting for rust, damage, or wear reduces breakdowns in the middle of a project—a must for busy home garages with tight project deadlines. I remind clients to sharpen blades, lubricate moving parts, and recharge batteries after each week of use, ensuring everything’s ready for the next tune-up or major repair. For high-use equipment like jack stands and floor jacks, I recommend quarterly safety checks, logging inspections in a simple notebook attached to the workshop wall for quick reference.
Conclusion
Building my own garage workshop has been a truly rewarding journey. Every step has taught me something new about making the most of my space and resources. I’ve found that a little creativity and ongoing care go a long way toward keeping my workspace efficient and enjoyable.
As I continue to tinker and take on new projects I’m reminded that the workshop isn’t just about tools or repairs—it’s about creating a space that inspires confidence and pride in every job I tackle.


