
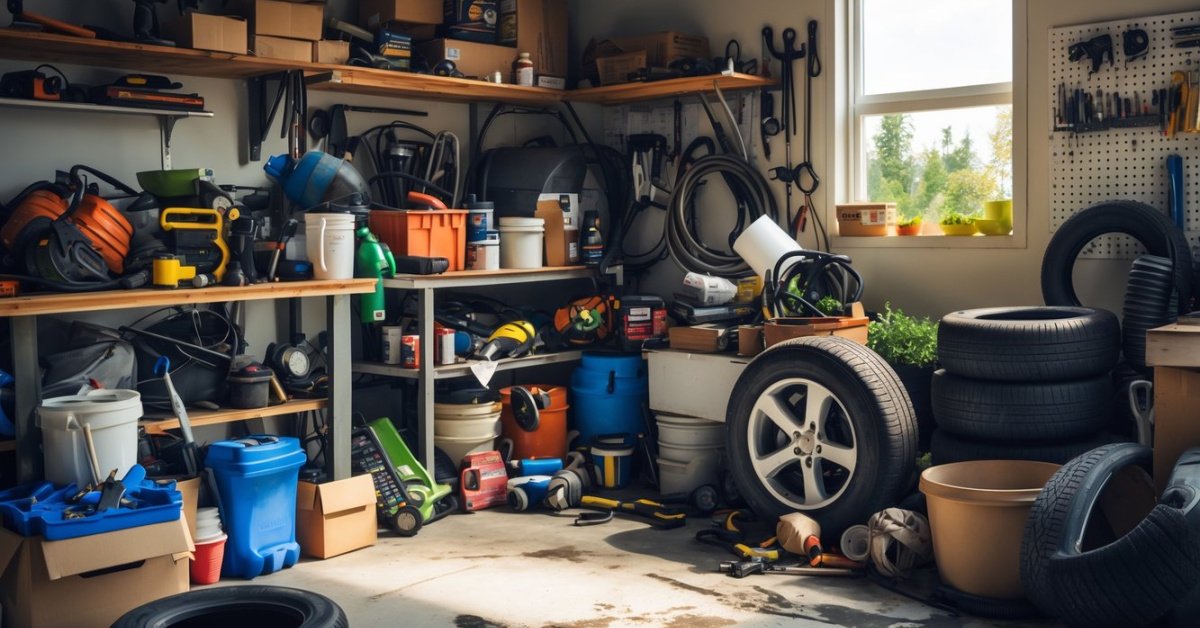
Every time I finish a messy project in my garage workshop I find myself wishing for a quick way to wash up without tracking dirt into the house. Installing a sink right where I need it would make cleanup so much easier and keep my workspace organized.
I know adding a sink might sound like a big job but with the right tools and a bit of planning it’s totally doable. Whether I’m rinsing paintbrushes or just washing my hands having a sink in the garage saves time and hassle. Let me show you how simple this upgrade can be and why it’s worth the effort.
Benefits Of Installing A Sink In Your Garage Workshop
Adding a sink in any garage workshop boosts both function and convenience. I see these changes deliver value every day for my clients focused on maximizing workspace efficiency.
- Improved Cleanup Capabilities
Sink installations make washing up after projects simple. Hands, paintbrushes, car parts, and muddy boots get rinsed out in seconds, so dirt doesn’t track into the house.
- Enhanced Project Flexibility
A dedicated water source opens up new project types. Cleaning greasy auto parts, prepping wood before staining, or rinsing tools after garden work all become less of a hassle with instant access to water.
- Optimized Organization
Sinks localize messes to one area. Countertop installations, for example, keep spills and splatters from spreading. Supplies like soap and cleaning brushes stay right where they’re most useful.
- Better Hygiene
Handwashing on site keeps oils, adhesives, and industrial grime away from your personal belongings. Clients with kids or pets especially enjoy having a barrier between the garage and the living space.
- Time Savings
Trips back and forth to the kitchen or bathroom disappear with a workshop sink. Over a year, I see garage owners save several hours just by having a rapid way to wash up between projects.
More garage owners ask me for sink installs each year as the demand for multi-use family spaces rises. When planning efficient, creative upgrades, I always recommend a sink for its outsized impact on daily workflow and workspace value.
Choosing The Right Sink For Your Garage
Selecting the ideal sink for a garage workshop creates smoother workflows and maximizes available workspace. I always match the sink type and specifications to the garage’s primary use, since every garage owner’s needs differ.
Types Of Sinks To Consider
Utility sinks provide the most versatility for garages. I recommend deep-basin utility sinks, such as polypropylene or stainless steel models, because they handle greasy tools, muddy shoes, and paintbrushes. Wall-mounted sinks free up floor space for storage systems and workbenches. Freestanding utility sinks suit garages where flexibility and easy installation matter most. Laundry sinks serve as an effective alternative in compact garages, especially when paired with a durable faucet.
Essential Features And Materials
Material determines how long the sink lasts and how well it stands up to harsh use. Stainless steel resists rust and cleans up easily after auto projects or gardening tasks. Polypropylene resists stains and impact damage—perfect for busy workshops. I always look for sinks with high splash guards, integrated drainboards, and sturdy faucets. Deep basins, at least 12 inches, allow hassle-free washing of bulky tools or buckets. Drop-in and undermount installations both work for garages—drop-ins install faster if time is tight. Each feature impacts daily workflow, so I balance function, durability, and available space before making a recommendation.
Preparing For Sink Installation
Planning streamlines every garage upgrade. Efficient preparation, especially for a garage sink, creates smoother project flow and helps avoid setbacks.
Assessing Plumbing Needs
Mapping out existing plumbing lines determines placement options for a garage sink. I check for water supply lines and drain access, using examples like laundry connections or outdoor spigots nearby. Locating the main shutoff valve allows me to work safely. If the garage doesn’t have existing plumbing, I plan for new supply and drain line routes along walls or below the slab. Measuring the distance from the most convenient tie-in point guides material requirements and installation steps.
Gathering Tools And Materials
Assembling essential tools and materials for sink installation accelerates the process. I gather the following before starting:
- Pipe wrenches for tightening and loosening fittings
- PVC or copper pipe, based on the garage’s existing plumbing type
- Pipe cutter or hacksaw for sizing supply and drain lines
- Plumber’s tape and pipe dope to seal threaded fittings
- Channel-lock pliers for connecting supply hoses and drain traps
- Silicone caulk for sealing the sink-edge
- Measuring tape and level for alignment
- Mounting hardware, like brackets or wall anchors, for securely attaching the sink
- Sealed bucket for capturing water when disconnecting existing lines
Prepping every tool and material in advance speeds up sink installation and keeps workspace disruption minimal.
Step-By-Step Guide To Installing A Sink In Your Garage Workshop
Every garage project gets easier with a dedicated workspace sink. I’ll break down installation into clear steps that improve both efficiency and utility.
Installing The Plumbing Lines
I always start by identifying nearby supply and drain lines, focusing on efficiency. I tap into existing plumbing when possible, like in garages sharing a wall with laundry rooms or bathrooms. I run PEX or copper pipes for water, selecting materials based on access and durability. I install shutoff valves near the connection for fast maintenance. I slope the drain line at least ¼ inch per foot toward the main waste pipe, minimizing clog risks. I use hangers every 4-6 feet along runs—for example, beneath a wall-mounted utility sink—to prevent sagging.
Mounting And Connecting The Sink
I use wall brackets or a floor stand to mount the sink securely, ensuring it aligns with both water supply and drain positions. I check the height to match common utility sink standards, typically 34-36 inches from the floor. I attach supply lines to the faucet with compression fittings and connect the P-trap to the drain stub-out. I hand-tighten fittings first and then finish with a wrench for a snug seal, watching for over-tightening that can crack PVC or damage gaskets.
Testing For Leaks And Functionality
I open supply valves and run water through the faucet, observing connections for drips. I let the sink fill and then drain rapidly to check for slow drainage or leaks at the P-trap. I monitor water flow and troubleshoot air pockets or loose connections if any sputtering or dripping appears. I also check for dampness along the drain line after several uses, comparing to dry reference spots marked before testing. If all stays dry and the water flows steadily, the installation’s optimized for daily use.
Common Challenges And Troubleshooting Tips
Dealing with plumbing limitations
I often see garages without nearby plumbing. Tapping into distant water lines or drain connections increases pipe length, leading to higher costs and the potential for pressure loss. Running PEX pipes above ground works in most cases if freezing temperatures aren’t common in the region.
Managing drainage issues
I regularly encounter slow drainage due to insufficient pipe slope or venting. Ensuring a minimum 1/4-inch slope per foot for horizontal drainpipes prevents pooling. Installing air admittance valves helps where connecting to existing vents isn’t practical.
Handling water leaks
Leaks usually occur at threaded or push-fit connectors. Hand-tightening and then turning fittings a quarter more with a wrench tends to stop drips. Using PTFE tape on threaded joints gives extra assurance against leaks.
Addressing space constraints
Many clients want to conserve floor space. Opting for a wall-mounted or corner utility sink maximizes workspace and storage without crowding the area. I recommend measuring the garage area and mapping out tool zones before installing.
Preventing freezing in cold climates
Cold garages can lead to frozen pipes and damaged sinks. Installing pipe insulation and wrapping heat tape around water supply pipes keeps water flowing even in freezing months. Draining lines before winter offers extra protection.
Correcting low water pressure
Some older homes supply garages with undersized lines, causing weak flow at the sink. Upgrading to ½-inch or ¾-inch PEX increases pressure and aligns with modern fixture standards.
Solving backflow problems
Occasional backflow in newly-installed garage sinks usually means a missing or malfunctioning air gap or backflow preventer. Adding a simple vacuum breaker stops garage water from mixing with the main supply, preserving both safety and code compliance.
Maintenance And Care For Your Workshop Sink
Regular cleaning maximizes longevity and functionality for any workshop sink. I use non-abrasive cleaners like mild dish soap or diluted vinegar to wipe down stainless steel, enamel, or composite surfaces after heavy use with paint, adhesives, or grease. I avoid scouring pads to prevent scratching and corrosion, especially on stainless and resin-based sinks.
Drain care prevents clogs in a busy garage workshop environment. I fit a basic mesh strainer over the drain to catch debris like wood chips, dried paint, or hardware fragments. I check and empty the strainer weekly, then occasionally pour a mix of hot water and baking soda down the drain to help break down build-up. Chemical drain cleaners accelerate pipe wear, so I stick to mechanical removal methods and natural cleaners.
Leak checks spot early issues before they require extensive repair. I inspect beneath the sink monthly, feeling for moisture along P-traps and joints after high-frequency use. I tighten any loose fittings or replace worn-out washers as needed. For flexible hose connections, I verify that clamps are snug but not over-tightened, which can crack threads or hoses.
Winterization protects pipes and supply lines in uninsulated garages. Before freezing temperatures, I insulate exposed supply and drain lines using foam sleeves and weather-resistant tape. In regions with prolonged freezes, I shut off and drain water lines to the sink if the garage won’t stay above 38°F. These steps prevent burst pipes and minimize repair costs.
Routine maintenance extends the value of every garage sink upgrade. My clients see fewer plumbing issues and report more satisfaction from their workspace when these habits become part of their cleanup routine. This keeps the workshop both organized and functional, reinforcing the benefits of adding this essential feature.
Conclusion
Adding a sink to my garage workshop has made a world of difference in how I tackle projects and keep my space tidy. It’s a practical upgrade that’s boosted my efficiency and made cleanup so much easier after even the messiest jobs.
I’ve found that with a bit of planning and the right materials this project is totally manageable and well worth the effort. If you’re considering this upgrade for your own workshop I can’t recommend it enough—your future self will thank you every time you wash up after a job well done.


