
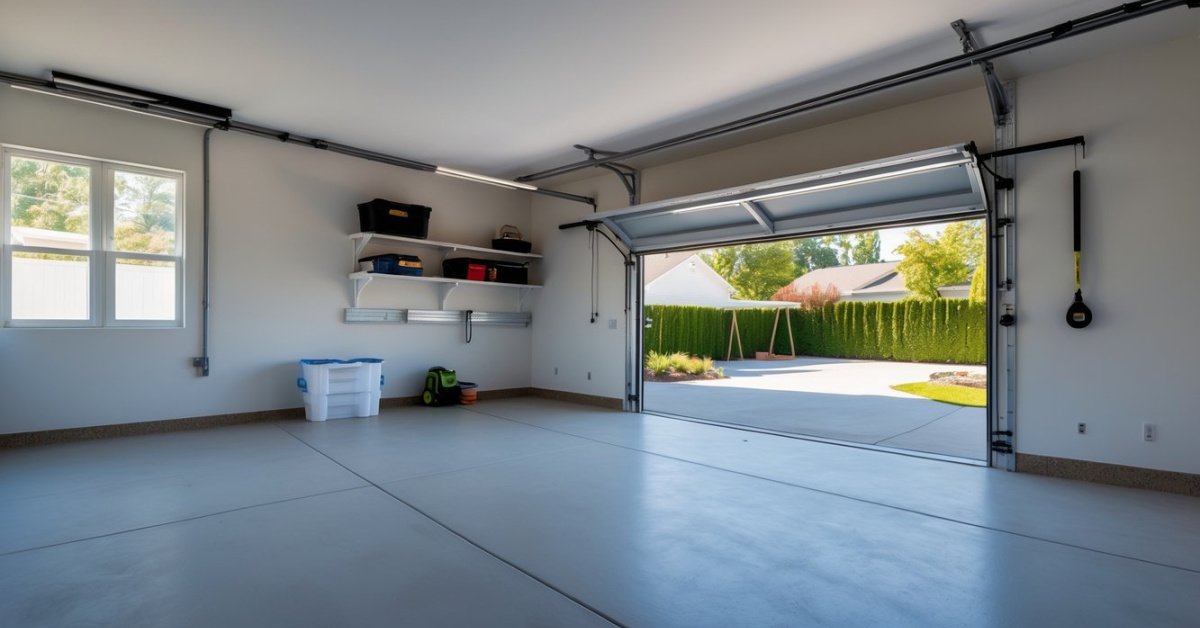
Every time I walk into my garage I can’t help but notice how quickly shelves and cabinets collect dust and clutter. It’s easy for things to pile up until I can barely find what I need. Tackling the mess always seems like a big job but I know it’s worth it when everything’s clean and organized.
I’ve found that giving my garage storage a good cleaning not only makes the space look better but also helps me keep track of my tools and supplies. With a little effort and the right approach I can turn a chaotic garage into a space that actually works for me.
Why Cleaning Garage Shelving And Cabinets Matters
Clean shelving and cabinets in the garage impact space optimization by keeping stored items visible and accessible. Dust-free surfaces let me see tool labels, sporting equipment, or hardware bins at a glance, which speeds up any project setup. For example, I can quickly grab seasonal decorations, paint cans, or yard tools.
Safe storage depends on cleanliness, since dust and debris attract pests and create slip hazards. I notice fewer spiders, rodents, and insects around freshly cleaned shelves, and I rarely see spills hiding beneath clutter when the surfaces are clear.
Maintaining garage shelving and cabinets in good condition extends the lifespan of storage products. Clean hardware shows no rust, and wooden shelving stays free from warping and rot, especially in humid climates. In my experience, regular cleaning helps prevent shelving brackets, cabinet doors, and hinges from jamming or wearing out prematurely.
A visually tidy garage motivates proactive organization habits. After a deep clean, I find myself more likely to return items to their spots and less likely to let junk pile up. This makes ongoing space optimization much more manageable and cost-effective.
Essential Supplies For Cleaning Garage Storage
These supplies streamline garage shelving and cabinet cleaning, making efficient space optimization possible:
- Heavy-Duty Gloves
I wear nitrile or latex-coated gloves to protect my hands from sharp corners, splinters, and cleaning agents.
- Microfiber Cloths
I use multiple microfiber cloths for dusting shelving units, wiping metal cabinets, and cleaning plastic bins.
- Multi-Surface Cleaner
I spray a non-abrasive, residue-free cleaner on shelves and cabinet interiors to remove dust, grime, and grease.
- Soft-Bristle Brushes
I scrub shelf joints, cabinet edges, and other tight areas using soft-bristle brushes when microfiber cloths can’t reach.
- Shop Vacuum
I deploy a wet/dry shop vacuum for loose dirt, sawdust, and cobwebs inside shelving systems or storage cabinets.
- Buckets and Sponges
I mix warm water and mild soap in a bucket, then use a dense sponge to wash painted or laminated surfaces.
- Putty Knife or Plastic Scraper
I loosen hardened spills or adhesive residue on shelving and drawer bottoms with a putty knife.
- Step Ladder
I access upper shelves safely with a two-step or three-step ladder for thorough cleaning across all storage elevations.
- Trash Bags and Bins
I separate debris, packaging, or long-ignored junk into heavy-duty trash bags during the cleaning process.
- Labeling Supplies
I prepare permanent markers and weather-resistant labels for relabeling bins, boxes, and shelves as I clean.
| Supply | Primary Use | Surface/Application Example |
|---|---|---|
| Heavy-duty gloves | Hand protection | Wood, metal, cleaning chemicals |
| Microfiber cloths | Dusting, wiping | Metal, plastic, wood shelving |
| Multi-surface cleaner | Removing grime/grit | Shelves, cabinets, bins |
| Soft-bristle brush | Scrubbing tight spaces | Shelf/cabinet joints, corners |
| Shop vacuum | Debris/dust removal | Floor, shelves, cabinet interiors |
| Buckets & sponges | Wet cleaning | Painted cabinets, laminated boards |
| Putty knife/scraper | Stuck debris removal | Shelf bottoms, drawer interiors |
| Step ladder | Reaching high spaces | Upper shelving, tall cabinets |
| Trash bags | Disposing junk/packaging | General garage refuse |
| Labeling supplies | Organization | Storage bins, cabinet shelves |
I select these tools for every project to create cleaner, safer, and more organized garage storage areas, supporting both daily use and long-term space optimization.
Step-By-Step Guide To Cleaning Garage Shelving
Cleaning garage shelving lays the foundation for any smart storage solution. I always start by clearing, cleaning, and prepping every inch to ensure lasting organization.
Clearing And Sorting Items
I empty every shelf before cleaning, regardless of how full it looks. Sorting similar items together makes it easier to spot duplicates and expired products—common examples include motor oils and paint cans. I make three piles: keep, donate, and toss. Keeping only what my client actually uses frees up premium shelf real estate for tools or gear that see regular action.
Dusting And Wiping Surfaces
I dust all surfaces using a microfiber cloth, including less obvious spots behind brackets or along supports. After dusting, I wipe each shelf with a damp cloth and multi-surface cleaner, focusing on sticky spots and built-up grime. Thoroughly drying the shelving prevents moisture from attracting pests or leading to rust and shelving damage.
Addressing Stubborn Stains And Grease
I target stains and grease with either a mild degreaser or diluted vinegar, scrubbing tough areas with a soft-bristle brush. I use a putty knife for caked-on residue—paint spills are a frequent issue. Tackling these problem spots immediately restores visibility to shelves and protects stored items from future damage. If any surface remains slippery, I finish by rinsing and drying before putting items back in place.
Deep Cleaning Garage Cabinets
Deep cleaning garage cabinets boosts visibility, safeguards stored items, and supports ongoing organization. A systematic method taps the true potential of these essential storage areas.
Removing And Organizing Cabinet Contents
First, I completely empty all cabinet shelves and drawers to reveal hidden spills or debris. I group items by category—hardware, paints, automotive supplies, and outdoor gear—on a clean tarp or worktable for sorting. Frequently used items stay in easy reach, while rarely touched belongings move toward higher shelves. I use labeled bins and stackable containers to consolidate loose materials like screws or gardening gloves. Broken, expired, or duplicate items get added to donate or discard boxes, so cabinets only house what truly serves the garage’s function.
Cleaning Inside And Outside Cabinets
I dust out each cabinet using a microfiber cloth, targeting corners and shelf gaps where cobwebs gather. For sticky stains, I spray a multi-surface cleaner and let it sit for 2-3 minutes before scrubbing with a soft-bristle brush. I caulk small cracks or chips to block pests and moisture intrusion. I wipe down exterior cabinet doors, hardware, and handles, focusing on fingerprint buildup and scuffed surfaces. I always let cabinets air out for an hour before restocking contents, which stops trapped moisture from causing mold or odors. For metal cabinet frames, I use a rust remover if I spot corrosion, applying touch-up paint as needed. Every detail counts when transforming garage cabinets into high-performance storage space.
Tips For Maintaining Clean Garage Shelving And Cabinets
- Schedule cleaning intervals
I recommend setting monthly or quarterly reminders for surface cleaning and item checks on garage shelving and cabinets. This step catches dust and small spills before they build up.
- Store items in bins and label everything
Organize with durable, clear storage bins for items like fasteners, paint cans, or garden supplies. I label each container using weatherproof tags so everything stays visible and nothing gets lost in corners.
- Use shelf liners and cabinet mats
Install non-slip shelf liners under paint cans, weed killer, or car care products. These liners catch small spills and protect surfaces from scratches or chemical reactions.
- Monitor for moisture and pests
Check shelving and cabinets for water spots, leaks, or droppings, especially by the floor or entry points. I use silica gel packs and non-toxic pest traps near at-risk areas for extra protection.
- Rotate seasonal and rarely used items
Switch out sports gear, holiday lights, or camping supplies on upper shelves with more active-use tools every few months. This habit keeps clutter low and exposes hidden dust for removal.
- Inspect and tighten hardware
Examine shelf brackets, hinges, and drawer sliders for loosening or rust. I tighten or replace parts on the spot, which prevents sagging and extends the life of garage storage installations.
- Avoid overloading
Distribute weight evenly by storing heavy toolboxes or paint on lower shelves, and keep lighter bins above head height. This step reduces structural strain and keeps pathways safe for daily garage projects.
- Maintain a donation box
Keep a labeled donation bin for outgrown sports equipment, extra parts, or unused tools on a dedicated shelf. I empty this box each season, freeing up critical space for high-use items.
Each routine blends creative storage with safe use, helping every garage maintain top function and flexible organization.
Conclusion
Taking the time to clean and organize my garage shelving and cabinets has truly paid off. Not only does everything look better but I feel more motivated to tackle projects knowing exactly where my tools and supplies are.
A little effort goes a long way in keeping the garage safe and functional. Now I can enjoy a clutter-free space that makes every task easier and a bit more enjoyable.


