
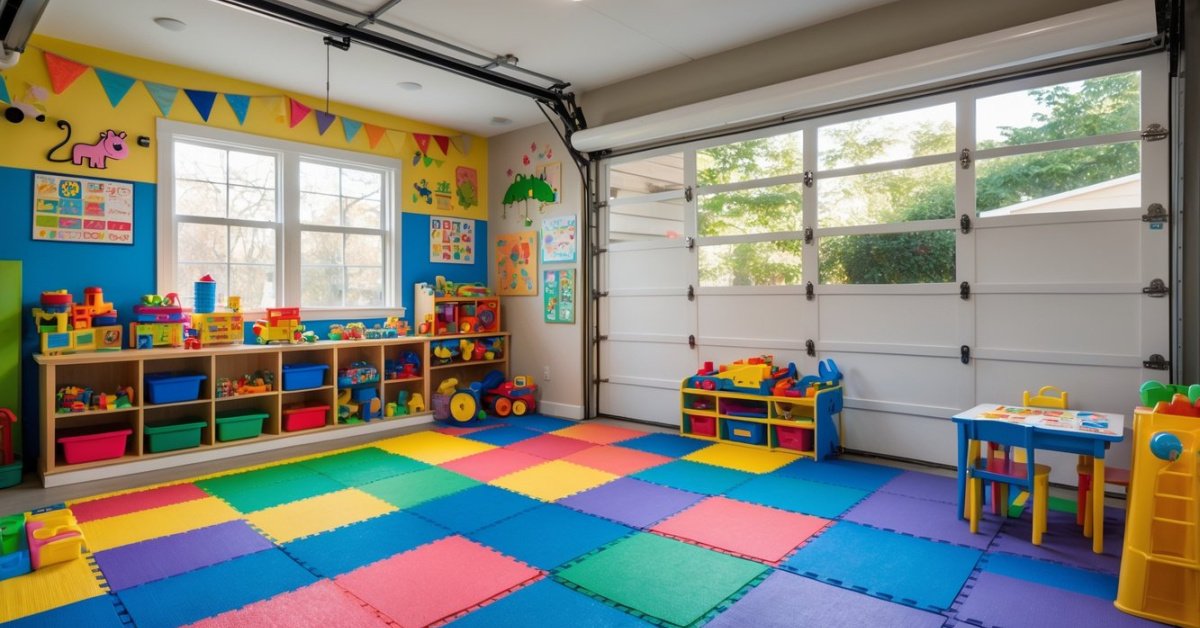
Turning a garage into a cozy living space is one of my favorite ways to add value to a home. But if you want a bathroom kitchenette or laundry area in your new space you’ll need to tackle the challenge of adding plumbing. It might sound intimidating but with the right plan and a bit of know-how it’s totally doable.
I’ve seen how the right plumbing setup can make a converted garage feel just like the rest of the house. Whether you’re dreaming of a guest suite or a home office with all the comforts you’re in the right place. Let’s break down what you need to know before you get started.
Understanding Plumbing Needs for Garage Conversions
Assessing plumbing requirements guides me when transforming a garage into a versatile space, whether I’m adding a bathroom, laundry area, or kitchenette. Plumbing supports daily comfort and boosts the value of any converted garage.
- Bathroom additions typically require connections for toilets, sinks, and showers. For example, a basic powder room installation means running new water supply lines and adding a drain, while a full bathroom needs venting and waste considerations.
- Kitchenettes often call for a sink, small dishwasher, and refrigerator with a water line. Planning for these appliances before starting any construction helps prevent costly changes later.
- Laundry setups mean accounting for both hot and cold water lines and a proper drain. Venting a clothes dryer also comes into play if needed.
Identifying the closest existing water supply and main drain lines, unless working with an unusually remote garage, lets me minimize plumbing runs and labor effort. Local codes, which vary by county and city, dictate key details like pipe materials, venting requirements, and backflow prevention.
I check the intended room layout to see how far new fixtures will sit from the main water and waste lines, since distance impacts pipe sizing and slope. For example, most building codes specify a minimum 1/4-inch per foot slope for drain pipes.
Every garage conversion stays unique, but aligning plumbing plans with the intended use—guest suite, hobby room, or office—optimizes comfort and future maintenance. The right plumbing layout streamlines approvals and sets a strong foundation for maximizing the space’s long-term utility.
Planning Your Plumbing Layout
A good plumbing layout brings garage conversions to life, blending comfort with function. I always start by picking the best approach for supplying water and placing fixtures to optimize the space.
Assessing Water Supply and Drainage Options
Evaluating water supply and drainage options ensures garage conversions get reliable service. I check where your home’s main water and drain lines travel, focusing on the shortest route to the garage. Placing new pipes closer to existing lines—such as those found in nearby bathrooms or utility rooms—cuts labor and cost. I track water pressure and consider pipe sizing so sinks, toilets, and laundry machines run smoothly. If drainage needs to move waste uphill, I recommend macerating pumps or up-flush toilets, especially when gravity alone won’t handle waste removal.
Determining Fixture Locations
Placing plumbing fixtures smartly maximizes the space’s function. I map fixture positions—such as showers, sinks, and appliances—along the garage’s perimeter walls, which keeps plumbing lines direct and accessible. Grouping fixtures near each other limits the number of plumbing runs required. Wherever possible, I align bathrooms, kitchenettes, and laundry hookups along a shared wall to centralize water and drain connections. This approach streamlines installation and slashes costs. If meeting code requirements, I set vent locations and clearance zones early in the layout, preventing redesigns as the project advances.
Key Steps to Adding Plumbing in a Garage Conversion
Every garage conversion project benefits from strategic plumbing, with careful planning reducing costs and setbacks. I focus on three major steps when turning an empty garage into a versatile living space.
Securing Necessary Permits
A permit adds both legal compliance and a smooth workflow to any garage plumbing project. I always check with my local building authority for plumbing, electrical, and construction permit requirements before starting. Most cities and counties ask for detailed plumbing layouts and sometimes require backflow prevention documents, especially if adding bathrooms or kitchens. Inspections later in the process confirm the work meets residential codes.
Running Water Supply Lines
Careful routing of water supply lines ensures reliable flow and fewer issues in converted garage spaces. I trace the nearest cold and hot water sources, usually from an adjacent laundry room or utility area. Flexible PEX piping helps me bend lines around obstacles and maintain pressure, especially in retrofit situations. When possible, I minimize pipe lengths to avoid heat loss and water waste, grouping fixtures like sinks and showers. Valves near fixture connections enable quick shutoff during maintenance.
Installing Drainage and Vent Systems
Efficient drainage and venting prevent clogs and odors in new garage fixtures. I install sloped ABS or PVC drain lines—about 1/4 inch per foot—for consistent flow to the main home sewer. Adding air admittance valves (AAVs) or connecting to existing vent stacks maintains proper pressure, supporting fixture drainage and compliance with plumbing codes. I insulate all pipes against temperature extremes common in detached garages, which lowers freeze risks and helps the system last longer.
Tips for a Successful DIY Plumbing Project
I approach every garage conversion by focusing on practical solutions that maximize space without sacrificing reliability. Careful material selection and attention to common pitfalls set the foundation for an efficient, long-lasting plumbing setup.
Choosing the Right Materials
I select durable piping and fixtures to match each garage conversion’s demands. PEX pipes, for example, offer flexibility and quick installation for tight garage spaces. Copper remains popular for its longevity and pressure tolerance, especially in high-use kitchenettes or laundry installations. PVC works well for drainage and vent lines, resisting corrosion where garages face varied moisture levels. I always use plumbing fittings and fixtures rated for residential use, checking manufacturer specs to avoid product mismatches.
Avoiding Common Mistakes
I plan each project to prevent errors that cause leaks or costly rework. Overlooking pipe insulation leads to frozen lines in winter or condensation damage in summer, especially in detached garages. I double-check that all connections use proper fittings and solvent when joining PVC or PEX. I avoid sharp bends and excessive pipe runs by measuring direct routes and grouping fixtures where possible. I always check that venting meets minimum code distances, as improper venting causes slow drainage and sewer odors. Skipping permit checks or code research may result in failed inspections or extensive rework, so I confirm all legal requirements before installation.
When to Call a Professional Plumber
I recommend calling a professional plumber if plumbing challenges threaten the comfort or safety of your garage conversion. Complex rerouting becomes necessary when drain lines need extensive trenching or the main sewer connection sits far from the new fixtures. Licensed plumbers carry the tools and expertise for safe excavation and accurate line connections, minimizing risks of leaks or code violations.
I rely on trained plumbers whenever the project requires tapping into a pressurized main or making changes to the home’s vent stack. These scenarios demand specific tools like power pipe cutters and pressure test gauges, plus a thorough grasp of local plumbing codes, which a specialist brings to every job.
Fixture installations involving gas water heaters, high-capacity pumps, or advanced filtration systems also call for pros. These appliances feature strict manufacturer and municipal requirements for venting, spacing, and drainage that licensed plumbers know how to satisfy.
I call in an expert if I spot any signs of aging, corroded, or leaking pipes in the existing garage slab walls or ceiling. Damaged or substandard lines may need full or partial replacement to avoid bigger issues—something that’s faster and safer in the hands of a pro.
I always consult professionals when permitting and inspections turn complex. Some municipalities mandate that certified plumbers sign off on permit applications or inspections for major plumbing additions, ensuring every aspect stays above board and every converted garage keeps its value and function.
| Scenario | Expert Knowledge/Tools Needed |
|---|---|
| Major drain rerouting or trenching | Excavation tools, sewer line know-how |
| Pressurized main taps or vent stack changes | Code compliance, pressure testing, specialty tools |
| Gas appliances or advanced filtration installations | Manufacturer specs, venting methods, compliance |
| Replacing corroded/slab-embedded pipes | Safe pipe removal, diagnostics, replacement skills |
| Complex permits or required inspection sign-offs | Licensing, municipal documentation |
Conclusion
Adding plumbing to a garage conversion might seem overwhelming at first but it’s a project that brings real value and flexibility to your home. I’ve found that a little extra planning goes a long way in making the process smoother and more enjoyable.
Whether you’re tackling the work yourself or calling in a pro for the tricky parts you’ll end up with a space that’s comfortable and truly functional. It’s rewarding to see a garage transform into a place that meets your needs and feels like part of the house.


