
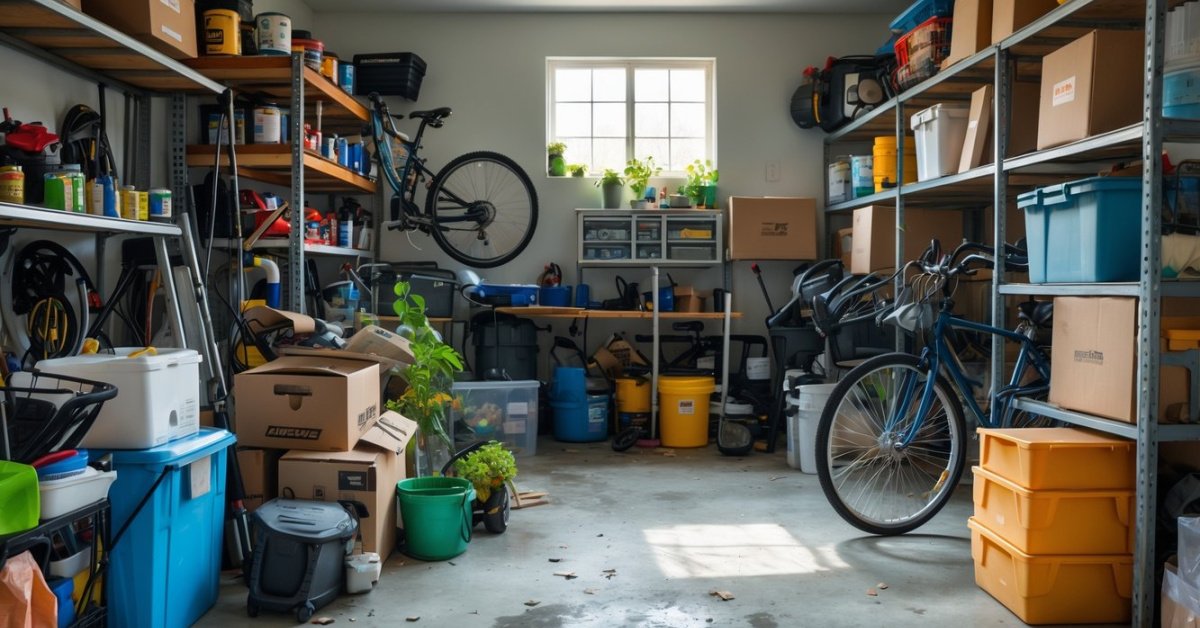
I love tackling projects in my garage but nothing slows me down like a cluttered workspace. Tools scattered everywhere and supplies stacked in corners just make every task harder than it should be. That’s why I decided it was finally time to build a workbench that could handle it all.
A sturdy DIY workbench with storage drawers isn’t just about having a place to work—it’s about making sure every tool has a home. I wanted a setup where I could grab what I need in seconds and keep everything organized when I’m done. If you’re tired of searching for your screwdriver or clearing space before you start a project you’ll appreciate how much difference the right workbench can make.
Why Build a DIY Garage Workbench With Storage Drawers
Adding a DIY garage workbench with storage drawers instantly increases workspace functionality. Drawers let me organize screwdrivers, wrenches, tape measures, and specialty tools, so I always know where everything is during a project. Efficiency improves because every item has a set location—less time searching means more time building, fixing, and creating.
Incorporating storage drawers into a workbench enables better use of vertical and horizontal space in the garage. I support clients who want to transform unused wall space or cluttered corners into high-capacity tool centers. Customization options, such as deep drawers for power tools or dividers for hardware, let me tailor solutions for different tasks and storage needs.
Workshops with organized storage consistently contribute to safer work environments. Clear surfaces make maneuvering and project layout simpler. I see fewer accidents and misplaced tools in garages where storage drawers keep clutter off the floor and worktops.
Building a custom workbench with integrated drawers also increases the garage’s overall value and versatility. Most homeowners find multipurpose work areas more appealing when it’s time to sell. When I design these benches, I prioritize durable materials and smart layouts to ensure they stand up to years of project use and adapt to changing storage needs.
Essential Materials and Tools
I select sturdy plywood sheets, usually 3/4-inch thick, for building the tops, drawer faces, and frames of a DIY garage workbench with storage drawers. I rely on dimensional lumber like 2x4s for the workbench legs and main supports because they provide structural strength. I pick full-extension drawer slides, rated at 100 pounds or higher, so every drawer remains functional and supports long-term storage.
I use quality wood screws (2.5-inch and 1.25-inch) for frame and drawer assembly to ensure lasting joints in high-traffic areas. I recommend wood glue for reinforcing bonds at critical structural points. I always include a polyurethane finish to protect wood surfaces from oils and stains common in garage workspaces.
Below, I list the main tools I keep ready for each build:
- Power circular saw: Cuts plywood sheets and 2x4s accurately for bench and drawer sections
- Cordless drill/driver: Eases assembly by driving screws and drilling pilot holes
- Measuring tape and square: Maintains precise cuts, making sure each section fits as planned
- Orbital sander: Smooths drawer faces and workbench surfaces, preventing splinters
- Clamps (at least four): Secures boards during assembly and glue-up phases
I count on these materials and tools for every garage workbench project with built-in drawer storage. This unified toolkit keeps the process consistent and ensures each workspace becomes safer, more organized, and adaptable to ongoing home upgrades.
Planning Your Workbench Design
I approach every garage workbench project by mapping out the key design decisions first. This step turns a standard workspace into an efficient, personalized tool hub with smart storage that fits both your space and workflow.
Choosing the Right Dimensions
I select workbench dimensions by measuring the exact garage footprint available and considering daily tasks. Most home garages support a 24-inch deep, 36-inch high, and 60- to 72-inch long workbench. These sizes give enough work surface for tool setups, woodcutting, or repairs. I ensure there’s at least 36 inches of clearance around the workbench for safe walking and drawer access. For clients using large tools like miter saws, I increase the depth up to 30 inches and raise the height to 38 inches for better ergonomics.
Determining Storage Drawer Needs
I identify storage requirements by grouping tools and materials into categories, such as hand tools, drill drivers, fasteners, and safety gear. Small drawers work for chisels, pliers, or measuring tapes, while deep drawers hold power tools, clamps, or extension cords. I factor in vertical space under the bench to maximize drawer count without sacrificing knee room. Some owners want one or two deep drawers for power tools and three to five shallow drawers for hardware and frequently used hand tools. For clients who keep hobby kits or seasonal supplies, I add wider drawers for bulkier storage. Matching drawer slides to expected weight is critical—for example, I use 100-pound slides for power tool drawers and 50-pound slides for fastener bins—to maintain smooth operation and lasting structure.
Step-By-Step Building Process
Getting the most out of garage space starts with precision and a clear sequence. I focus on structure, usable storage, and durable details that support years of project work.
Constructing the Workbench Frame
First, I build the main frame using 2×4 lumber and 3/4-inch plywood. Measuring and cutting each piece ensures panels fit with 90-degree corners. Assembling the base with wood glue and 3-inch screws creates a stiff, stable foundation. Leveling the frame and squaring up all sections prevents future drawer alignment issues. Securing the top with countersunk screws every 8 inches holds the working surface flat, even under heavy tools or materials.
Building and Installing Drawers
Next, I move to the drawer units. Cutting drawer sides, backs, and fronts from 3/4-inch plywood provides strength for loaded storage. Drilling pilot holes and assembling with wood glue and 1-1/4 inch screws creates square, rattle-free drawers. Mounting full-extension drawer slides, rated for at least 100 pounds, allows each drawer to open smoothly. Installing the slides flush and parallel with the frame avoids binding or sagging over time. Sliding each drawer onto its tracks and testing movement ensures reliable day-to-day use.
Finishing Touches and Customization
Finally, I sand sharp edges and prep all surfaces with 120-grit sandpaper for splinter protection. Brushing on a coat of polyurethane or durable paint protects against spills and wear. Attaching sturdy drawer pulls makes each drawer easy to access with gloves or full hands. Adding custom options like a tool organizer insert, power strip cutout, or lockable drawer lets the workbench match my client’s garage needs perfectly. Labeling drawers or using color-coded fronts speeds up finding tools, keeping every project on track.
Pros and Cons of a DIY Garage Workbench With Storage Drawers
Listing the advantages and disadvantages of a DIY garage workbench with storage drawers gives clarity on how this solution impacts garage optimization.
Pros
- Maximized Storage: Incorporating storage drawers under a workbench multiplies available space for tool categories, like socket sets, fasteners, and small power tools.
- Enhanced Organization: Custom sorting drawers let me separate hand tools, hardware organizers, and specialty accessories, cutting down retrieval time during any project.
- Increased Workspace Efficiency: Integrating drawers beneath the benchtop keeps essentials accessible, reducing clutter on work surfaces and boosting productivity.
- Safety Improvements: Adding closed storage helps keep sharp objects, hazardous materials, and electrical cords out of pathways, minimizing trip risks and potential injuries.
- Customization Options: Designing drawer size, quantity, and specialized inserts ensures every tool type and project supply has a dedicated spot.
- Cost Savings: Constructing my own workbench and storage system eliminates markups typical of retail garage furniture, with most builds costing $200–$500 in materials according to HomeAdvisor.
- Home Value Boost: Well-built workbenches with integrated storage appeal to future buyers interested in organized workshops, raising a property’s perceived value.
Cons
- Time Investment: Planning, sourcing materials, and assembling drawer units often take 10–20 hours, depending on size and customization.
- Skill Requirements: DIY projects like this call for mechanical aptitude, woodworking skill, and confidence with power tools, which not all homeowners possess.
- Upfront Costs: Material expenses for quality plywood, hardware, and fasteners can quickly add up, especially if I upgrade drawer slides or opt for cabinet-grade finishes.
- Maintenance Demands: Wood drawers and slides require occasional tune-ups, such as lubrication and alignment adjustments, to keep them operating smoothly.
- Floor Space Commitment: Installing a large workbench with drawers occupies significant square footage, which limits flexibility for vehicle storage or alternative uses.
- Fixed Design: Once installed, permanent workbench configurations limit the ability to reconfigure the garage layout without major effort or alteration.
Maintenance and Organization Tips
I keep DIY garage workbenches with storage drawers running smoothly by making regular cleaning part of my routine. Storing only frequently used tools in drawer organizers, for example, prevents overcrowding and keeps essentials accessible. Labeling each drawer with clear names or symbols eliminates guesswork, while grouping similar items together—like screwdrivers, pliers, and sanding supplies—cuts down search time.
I inspect drawer slides for debris and apply dry lubricant every six months to keep movement easy and silent. Wiping down surfaces with a damp cloth removes dust buildup, reducing wear on finish and hardware. Aligning and tightening hinges or fasteners ensures nothing works loose after regular use. Painting or sealing raw wood every two years helps resist moisture and keeps the workbench looking new.
I minimize clutter by reviewing storage contents every quarter, discarding duplicates or damaged tools. Donating unwanted items opens up drawer space for new gear and avoids unnecessary bulk. Using stackable containers in deep drawers, like parts trays or stacking bins, levels up organization for small hardware.
I zone my workbench by activity—assigning drawers for electrical, mechanical, and woodworking tools prevents cross-contamination. Attaching magnetic strips or pegboard panels above the workbench offers a quick-access spot for most-used hand tools, keeping drawer interiors tidy.
By following systematic routines for labeling, cleaning, grouping, and optimizing drawer layouts, my garage workbenches always support every project efficiently.
Conclusion
Building my own garage workbench with storage drawers has truly transformed how I approach every project. I love having a dedicated spot for each tool and knowing exactly where to find what I need. It’s rewarding to see my workspace stay organized and efficient even as my collection of tools grows.
Taking the time to plan and personalize my workbench paid off in both convenience and peace of mind. I’m excited to keep improving my setup and tackling new DIY projects with confidence. If you’re considering building your own, I can’t recommend it enough—it’s a game changer for any garage.


