
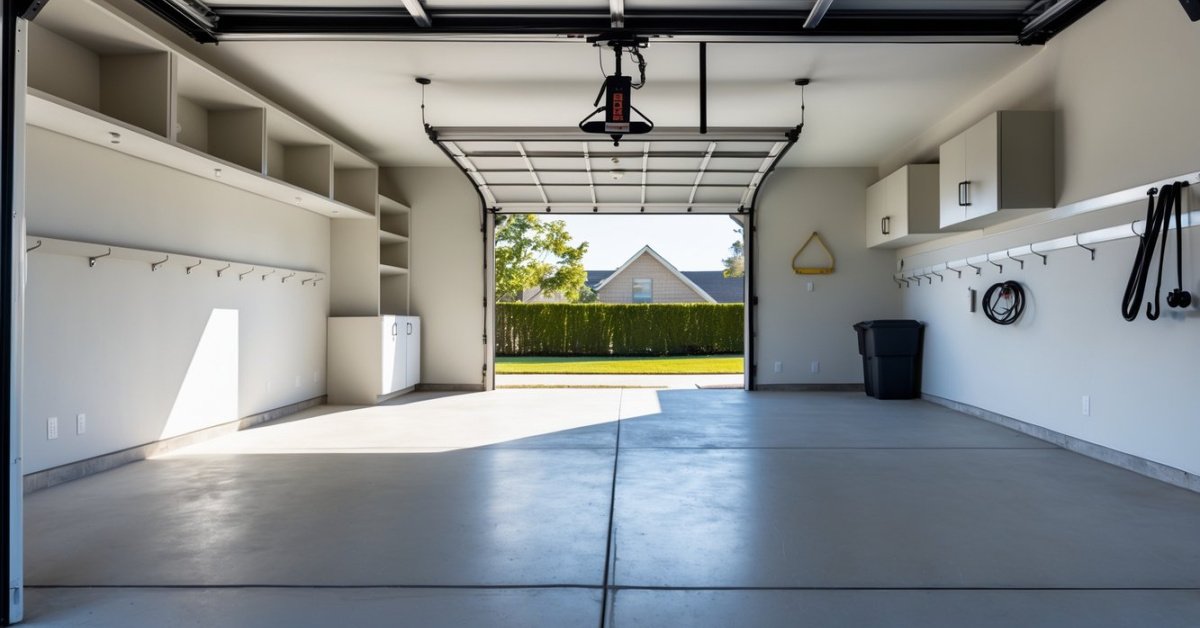
Whenever I’m working on a project in my garage, good lighting makes all the difference. There’s nothing more frustrating than trying to see tiny screws or measure precise cuts in dim light. That’s where task lighting comes in—it transforms a shadowy garage into a bright, efficient workspace.
I’ve found that installing the right task lighting not only helps me work faster but also keeps my projects safer and more enjoyable. If you’re ready to give your garage workshop a serious upgrade, you don’t need to be an electrician or spend a fortune. With a few tools and some simple steps, you’ll have your space brilliantly lit in no time.
Benefits of Task Lighting in a Garage Workshop
Task lighting transforms a garage workshop by targeting work areas where detail matters most. Focused light at benches, tool stations and assembly surfaces lets me see small parts, wiring or hardware without shadows or eye strain. Bright, direct illumination also cuts risks associated with DIY tasks—sharp tools and power equipment feel safer when visibility’s high.
Organized layouts benefit from task lighting because I can spot misplaced hand tools, spilled fluids or dropped fasteners right away. When lighting aligns with workstations, productive flow rises as I waste less time searching and repositioning. Consistency across all zones creates a uniform workspace that feels custom-fit for any project.
Well-lit garages often add value to a home since buyers see potential for hobby space, storage upgrades or automotive work. Adjustable LED strips, articulating arm lamps and under-shelf puck lights let me support flexible setups as homeowner needs change. Better lighting also complements storage upgrades by highlighting custom cabinetry, pegboards and elaborate tool walls.
My clients report less fatigue during long projects thanks to reduced squinting and awkward postures. When every inch of workbench gets even light coverage, it’s easy to maintain focus and precision. Elevated lighting upgrades make any garage feel more professional, efficient and adaptable to creative uses.
Planning Your Garage Workshop Lighting
Proper planning creates a functional garage workshop. I always start by evaluating how clients use their space and selecting lights that suit each task area.
Assessing Your Workspace Needs
I measure each workspace section to identify key tasks. Benches, cutting tables, and tool walls each need direct lighting. Large garages with multiple stations, like auto repair bays and hobby tables, benefit from separate fixtures. I note ceiling height since high ceilings, such as ones over 9 feet, require brighter fixtures to limit shadow. I also map out electrical outlets because plug-in fixtures simplify installation where hardwiring isn’t practical.
Choosing the Right Task Lighting Fixtures
I match lighting fixtures with workspace requirements and layout. LED shop lights deliver uniform light for benches where clients assemble parts or do repairs. Under-cabinet strips illuminate tool storage and work surfaces where detail matters. Clamp lamps or swing-arm task lamps add focused light for precision tasks like soldering or electronics. Motion sensor lights near entry points and tool cabinets improve convenience for clients carrying supplies. I recommend adjustable fixtures so users can adapt light angles or brightness for changing tasks.
Tools and Materials You Will Need
Lighting optimization in a garage workshop depends on the right tools and materials. I always keep these items ready before starting any installation:
- LED Shop Lights: Efficient models like 4000K daylight strips produce even, bright illumination over workbenches.
- Task Lights: Adjustable gooseneck lamps and under-cabinet LED strips provide directional light for detailed projects.
- Extension Cords: Heavy-duty cords rated for garage power tools and multiple outlets offer flexible placement options.
- Measuring Tape: Reliable tape measures ensure precise mounting and spacing across benches, shelves, and ceiling areas.
- Stud Finder: Electronic stud finders prevent drilling into wires or pipes when mounting lights to walls or ceilings.
- Screwdriver Set: Phillips-head and flat-head drivers handle different mounting brackets and fixture panels.
- Cordless Drill: A 12V drill speeds up pilot hole creation, attachment of brackets, and fixture installation.
- Wire Strippers and Cutters: Essential for wiring hardwired fixtures or shortening lengths of under-cabinet strips.
- Wire Nuts and Electrical Tape: Safe electrical connections rely on UL-listed wire nuts and quality electrical tape.
- Mounting Hardware: Screws, wall anchors, and brackets used for attaching lights to drywall, joists, or metal shelves.
- Safety Gear: Protective eyewear and work gloves help prevent injury from dust and sharp tools during installation.
| Tool/Material | Example | Purpose |
|---|---|---|
| LED Shop Lights | 4-foot daylight strips | Even general light |
| Task Lights | Adjustable desk clamp LEDs | Targeted illumination |
| Extension Cords | 12-gauge heavy-duty | Flexible layout |
| Measuring Tape | 25-foot steel tape | Accurate spacing |
| Stud Finder | Multi-sensor electronic | Safe mounting |
| Screwdriver Set | Phillips/flat-head drivers | Bracket and fixture install |
| Cordless Drill | 12V with rechargeable battery | Fast holes/bracket mounting |
| Wire Strippers and Cutters | 14-18 gauge compatible | Strip and trim wiring |
| Wire Nuts & Electrical Tape | UL-listed, flame retardant | Secure wiring |
| Mounting Hardware | Screws, wall anchors, brackets | Fix lights to structure |
| Safety Gear | ANSI Z87+ glasses, gloves | Personal protection |
Task lighting transforms common garage workshops into efficient and versatile spaces. I choose materials to match ceiling height, wall type, and power access in every project. Using these tools and supplies, installation stays safe, neat, and effective for any home garage upgrade.
Step-By-Step Guide: How to Install Task Lighting in a Garage Workshop
For anyone wanting peak functionality and clarity in a garage workshop, installing task lighting follows a clear sequence. I combine space optimization and safe lighting practices to make sure every project area gets just the right brightness.
Preparing the Workspace for Installation
I begin by clearing clutter from benches, floors, and shelves around the lighting installation zones. This opens up enough room for a step stool or ladder and reduces tripping hazards. I check that the power is off at the circuit breaker before I start, keeping all tools and hardware organized within reach. If ceiling dust or webs are present, I wipe surfaces clean to help lighting fixtures adhere securely.
Mounting the Lighting Fixtures
I mark fixture locations with a pencil using a measuring tape for uniform spacing—18 to 36 inches above workbenches suits most tasks. For under-cabinet strips or track lights, I use a stud finder to locate support, preventing sagging over time. I drill pilot holes, then mount the fixture bases with appropriate screws. For LED shop lights, I secure provided chains or brackets to ceiling beams for stability and adjust for height, making sure cords reach outlets or planned connection points.
Wiring and Electrical Considerations
I connect plug-in fixtures by routing cords along walls using adhesive clips, never letting cords dangle loosely to avoid accidents. When operating on hardwired lighting, I match wire colors—black to black, white to white, and use wire nuts for secure connections. If a junction box is involved, I confirm all connections are tight, then attach grounding wires to mounting brackets. I always check that no wires pinch during mounting and install wire covers for extra safety.
Testing and Adjusting the Lights
I switch on power at the breaker, then plug in or flip wall switches for each fixture. I watch for flickering, humming, or dim sections—these indicate loose connections or weak bulbs. I adjust adjustable heads or strips to shine light directly onto tool stations and work surfaces, minimizing shadows. If brightness doesn’t satisfy specific zones, I swap bulbs for higher-lumen options or reposition fixtures until every project area shines evenly, keeping all cords tidy for lasting safety and access.
Safety Tips for Installation
Electrical safety comes first during garage task lighting installation. I always check that the circuit breaker for the workspace is off before starting any work, avoiding accidental electrocution or short circuits.
Personal protective gear keeps me safe. I wear safety glasses, insulated gloves, and non-slip shoes every time I install lighting. These measures help prevent injuries from sharp objects, dropped tools, or accidental wiring contact.
Secure ladders and step stools improve stability in high garage areas. I position them on flat, clutter-free ground and double-check for wobbling before climbing up to mount fixtures or adjust cables.
Cord and cable management protects everyone working in a garage workshop. I fasten extension cords and wires against walls or ceilings, keeping them off the floor and away from foot traffic to prevent trips or tangle hazards.
Correct tools and hardware make installs safer and more efficient. I only use UL-listed fixtures, appropriate screws, and secure anchors for heavy or ceiling-mounted lights, reducing the chance of fixtures falling.
Verification of all connections prevents risks. I test every wire junction with a voltage tester before moving forward, ensuring everything remains de-energized as I work.
Ventilation helps during the install. If I’m sanding, cutting, or drilling, I open doors or use fans to avoid inhaling dust or fumes, especially in tight garage corners.
If I notice complex wiring, old electrical panels, or moisture near outlets, I contact a licensed electrician, especially when code compliance and proper electrical work are critical for safety.
Maintenance and Upkeep of Task Lighting
Routine cleaning keeps garage task lighting bright and effective. I dust light fixtures monthly with a microfiber cloth, then wipe lenses or covers using a damp cloth. For LEDs or other sealed units, I check housing for cobwebs and dirt buildup around vents.
Periodic inspection identifies wear or electrical issues before they cause trouble. I check cords and plugs for splits, especially around bends and connection points. Fixture mounting brackets and hardware get a quick tighten every few months to make sure nothing loosens from vibration or temperature changes.
Bulb replacement remains straightforward with modern LEDs. Most fixtures in upgraded garage workshops use LED tubes or strips, which last 25,000–50,000 hours according to Department of Energy data. I note the install dates on my workshop calendar so I can track fixture lifespans and order replacements in advance.
Fixture repositioning adjusts lighting to suit changing workspace layouts. As I rearrange benches or add storage, I may angle swivel-head spotlights or move magnetic task lights. This flexibility keeps every work zone well-lit without rewiring or major fixture changes.
Professional servicing helps with complex issues. If wiring shows signs of overheating or a fixture flickers even after a bulb change, I call in a licensed electrician to check it safely and ensure compliance with local code. This step protects the value and utility of the optimized garage space.
Conclusion
I’ve always found that the right task lighting makes every project in my garage workshop more enjoyable and productive. It’s amazing how a few well-placed fixtures can turn a dim, cluttered space into a bright and inviting workshop.
If you’re thinking about upgrading your lighting, don’t hesitate to take the first step. A little effort goes a long way and you’ll quickly notice the difference in comfort and efficiency. Your future projects—and your eyes—will thank you.


