
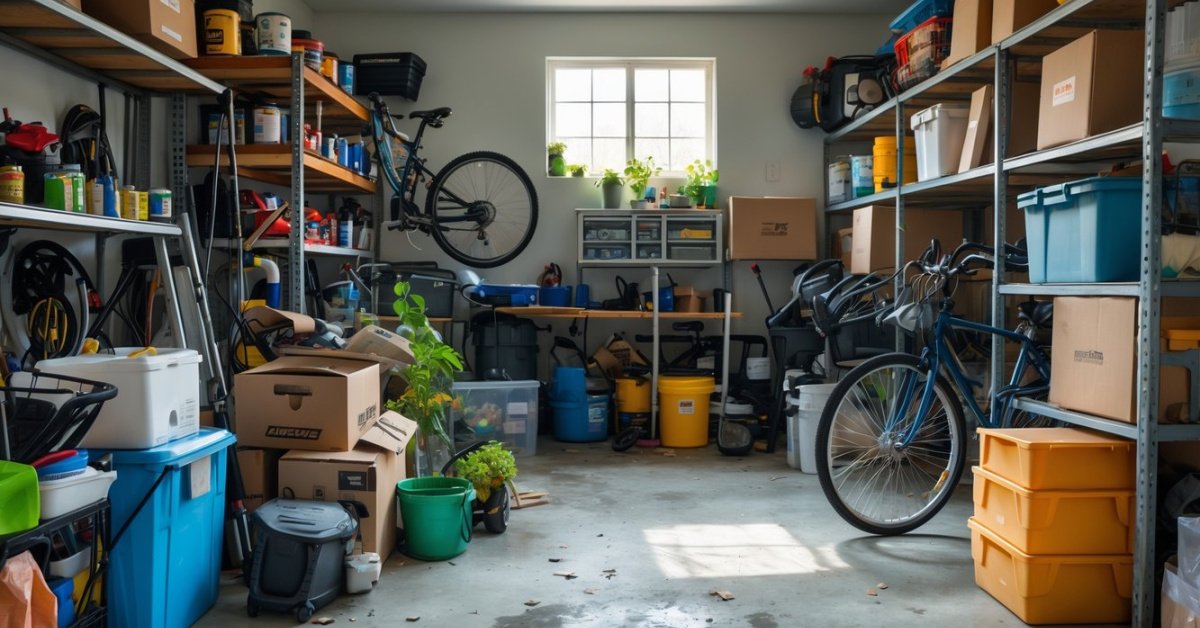
Turning a garage into a cozy living space or a functional home office has always fascinated me. There’s something exciting about reimagining a space that’s often overlooked and transforming it into something that truly fits my lifestyle. Whether I want an extra bedroom a creative studio or just a quiet place to unwind a garage conversion opens up a world of possibilities.
Of course diving into a project like this takes more than a spark of inspiration. Careful planning is key if I want to avoid headaches and make the most of my investment. With a clear plan in place I can turn my garage into a space that adds both comfort and value to my home.
Understanding Garage Conversion Projects
Every garage conversion project turns underused square footage into purpose-driven spaces like guest suites, game rooms, or organized storage. My focus is always on extracting the full potential from existing dimensions. Most two-car garages offer 400–500 sq ft, which rivals many studio apartments for flexible planning.
Local zoning codes and HOA guidelines dictate what’s allowed, so I always verify rules before starting any project. For instance, some municipalities grant permits for ADUs, while others restrict living space or plumbing additions. I prioritize reviewing these legal factors up front to avoid project delays.
Structural elements—like concrete slabs and load-bearing walls—define what’s possible in layout changes. I look for obstacles such as low ceiling heights, uneven floors, or old wiring, which frequently impact design choices and conversion costs.
Insulation, lighting, and ventilation shape how comfortable and energy-efficient a conversion becomes. I design around the garage’s current thermal envelope since most garages lack finished walls or sufficient heating. Upgrading these essentials guarantees the space works for everyday living or working.
Electrical and plumbing upgrades make features like in-law suites or home gyms feasible. In my experience, adding outlets, internet wiring, and water lines creates flexibility for future use, whether the space becomes a home theater or a hobby workshop.
I approach garage conversions by balancing these key aspects, customizing every step to match each owner’s real needs and future plans.
Assessing Feasibility and Setting Goals
Every successful garage conversion starts with a clear understanding of what’s possible and a solid sense of purpose. I take a systematic approach to make the most of every inch and help homeowners align their project with both construction realities and daily needs.
Evaluating Your Existing Garage Space
Solid feasibility analysis depends on careful inspection of the current garage. I measure usable floor area, noting that most two-car garages offer 400–500 sq ft. I inspect wall integrity, ceiling height, and foundation conditions, since cracks or leaks signal structural concerns. I look at existing electrical circuits, lighting fixtures, and plumbing access—determining upgrades if the garage lacks outlets or water lines. Local codes often require specific ceiling heights, emergency exits, and insulation levels. I review the driveway grade and location of HVAC connections, since these elements cost the most to modify if they aren’t conversion-ready.
Defining Purpose and Objectives
Clear goals maximize garage conversion value. I ask homeowners what they want most: more living space, a guest suite, a home office, or specialty areas like gyms or studios. I note if future resale value shapes choices, since guest suites and offices attract more buyers than hobby rooms. Space needs can be quantified; for example, a home office often requires 60–100 sq ft, while a studio or gym might need 200 sq ft and reinforced flooring. I help owners balance features like bedding, storage, and work zones to ensure flexible use. Setting priorities early minimizes costly changes and delivers a conversion that fits both aspirations and the existing structure.
Planning the Design and Layout
Careful planning shapes every successful garage conversion. I analyze each layout decision to boost comfort, meet client goals, and uncover hidden value in every square foot.
Maximizing Space and Functionality
Using every inch counts when optimizing a garage. I map furniture placement, storage zones, and walkways to avoid wasted space. Pocket doors, built-in benches, and custom shelving keep floors clear and add flexible storage options. For example, I design vertical storage to hold seasonal gear or sports equipment, and I use lofted ceiling racks when possible. I consider lighting placement to expand the room visually, and I choose fixtures like LED recessed lights and slim sconces. When planning multipurpose rooms like guest suites that double as offices, I prioritize folding desks or Murphy beds to keep spaces open and adaptive.
Considering Permits and Legal Requirements
Navigating permits and local codes sets the foundation for a smooth conversion. I check municipal requirements for egress windows, ceiling heights, and insulation standards before starting construction. In cities like Los Angeles, accessory dwelling unit (ADU) ordinances can affect what’s allowed, so I confirm current codes. For homeowners’ associations (HOAs), I review their rules regarding external changes, parking, and short-term rental use. When projects involve plumbing changes—such as adding a bathroom or kitchenette—I consult directly with building departments to ensure all plans get approved. This upfront diligence prevents costly revisions and helps clients get the most functional, legally compliant space possible.
Budgeting and Gathering Resources
I approach every garage conversion with a clear budget and focused resource plan from the start. Transforming a garage into a productive space means aligning costs with creative design and quality construction.
Estimating Costs
I estimate costs by first mapping each project component. Typical garage conversions range from $20,000 for a basic layout to $60,000+ for premium finishes and custom features (source: HomeAdvisor, 2024). Key costs include:
- Design fees: Professional plans often cost $1,000–$3,000 per project.
- Permits and fees: City permits usually cost $500–$1,500, varying by region.
- Structural modifications: Reinforcing floors or walls generally costs $2,000–$5,000.
- Insulation and drywall: Installing modern insulation and new drywall may total $2,500–$6,000 for a two-car garage.
- Electrical and plumbing: Upgrades start at $3,000 for basic outlets, with bathroom and kitchenette installs adding $5,000–$15,000 based on complexity.
- Flooring and finishes: Durable flooring and trim cost $2,000–$6,000 depending on material choice.
I recommend including a 10–15% contingency amount for unexpected expenses. If you want to add features like skylights or built-in cabinetry, increase the budget accordingly.
Selecting Contractors and Materials
I select contractors with proven experience in garage conversions, not just general construction. Verified specialists can handle unique requirements like slab insulation or automatic doors. I request and review three or more bids to ensure competitive pricing and a clear scope of work.
For materials, I prioritize quality and durability. Moisture-resistant drywall, insulated doors, and energy-efficient windows help maintain comfort and longevity. I work directly with suppliers to compare reviews and request samples, ensuring each choice—like engineered hardwood for flooring or low-e glass for windows—fits both the design and budget goals. If a project needs specialized storage or built-in furniture, I consult with custom fabricators to provide tailored solutions. Each step I take focuses on maximizing the garage’s potential as a lasting and flexible living area.
Preparing for Construction
Most garage conversions succeed when the prep phase stays organized and proactive. I focus on setting a clear project timeline and tackling common site challenges early to avoid delays and keep the transformation on track.
Timeline and Project Management
Strong project management ensures garage conversions hit every milestone without wasted time or budget. I start by creating a detailed timeline that outlines each stage—demolition, framing, insulation, electrical, plumbing, drywall, and finishes. Typical projects span 6–12 weeks, depending on size and scope. I break tasks into weekly segments and set specific goals, like completing rough electrical within days 7–10 or scheduling inspections at the end of week three.
I document each decision and share daily or weekly updates with owners for transparency. I track lead times for custom windows, doors, or cabinets, and I order materials early so work never stalls waiting for supplies. If the project requires several contractors—such as plumbers, electricians, and painters—I sequence tasks to avoid overlaps, using digital project management tools to keep everything visible and accountable.
Addressing Common Challenges
Every garage presents unique challenges I anticipate and resolve before construction. Uneven garage floors often need leveling or moisture barriers to prevent water intrusion. Low ceilings sometimes require reconfiguring rafters or selecting space-saving fixtures like slim ductless mini-splits for climate control.
Old wiring or minimal outlets present safety and function risks, so I upgrade electrical panels and wiring to handle modern needs, especially if the conversion supports a home office or guest suite. Foundation cracks, termite damage, or poorly insulated exterior walls come up frequently—I budget for remediation and ensure repairs fit local building codes.
Existing garage doors usually offer poor insulation and security. I either replace them with energy-efficient walls and new entry doors or retrofit insulated sectional options for flexible access. Daylight is sometimes limited, so I add skylights or glass side doors if window installation is restricted by property lines.
I spot and solve storage concerns by integrating custom cabinetry, overhead racks, or built-in benches that use every available inch. For homes in cold or humid climates, I address ventilation and moisture by including vapor barriers, dehumidifiers, and appropriate HVAC solutions.
By anticipating obstacles early and handling them with proven solutions, I transform garages into versatile living spaces that boost both function and value.
Final Touches and Moving In
Finishing details complete the transformation, letting me turn an ordinary garage into a customized, optimized living space. Paint and wall treatments impact the feel of a room—lighter tones make small areas look bigger, while textured finishes like board-and-batten or shiplap panels create interest on accent walls. Window dressings, such as cellular shades or blackout curtains, add privacy and regulate brightness.
Lighting choices define each zone—overhead LED fixtures brighten workspaces, while wall sconces and floor lamps bring in warmth. I prefer smart lighting systems for adaptability in multi-use garage conversions. Flooring selection matters; I use water-resistant vinyl or engineered hardwood in high-traffic spaces, adding plush area rugs for comfort if it’s a living or play zone.
Storage solutions—like custom cabinetry, under-bench drawers, or ceiling racks—maximize every inch and keep the new room clutter-free. Organization features such as pegboards, modular shelving, or built-in charging stations boost utility in home offices, studios, or gyms.
Safety checks come next before moving in. I inspect outlets, confirm breakers are properly labeled, and make sure smoke and carbon monoxide detectors work. If applicable, I check egress windows, door hardware, and ventilation systems for compliance.
Furniture setup follows. Multi-functional pieces—such as a sleeper sofa in a guest suite, a fold-down desk, or wall-bed—allow the room to shift purposes easily. Plants, artwork, and personal items individualize the new space, completing the garage optimization process.
After I review the final walkthrough with owners, checking punch-list items and ensuring satisfaction, it’s time for that first move-in day.
Conclusion
Turning a garage into a beautiful and functional space is one of the most rewarding projects I’ve tackled. With thoughtful planning and a little creativity it’s amazing how this underused area can become a true extension of your home.
I hope my experience helps you feel confident as you take on your own garage conversion. There’s nothing quite like stepping into a space you designed to fit your lifestyle perfectly—enjoy every moment of the transformation!


