
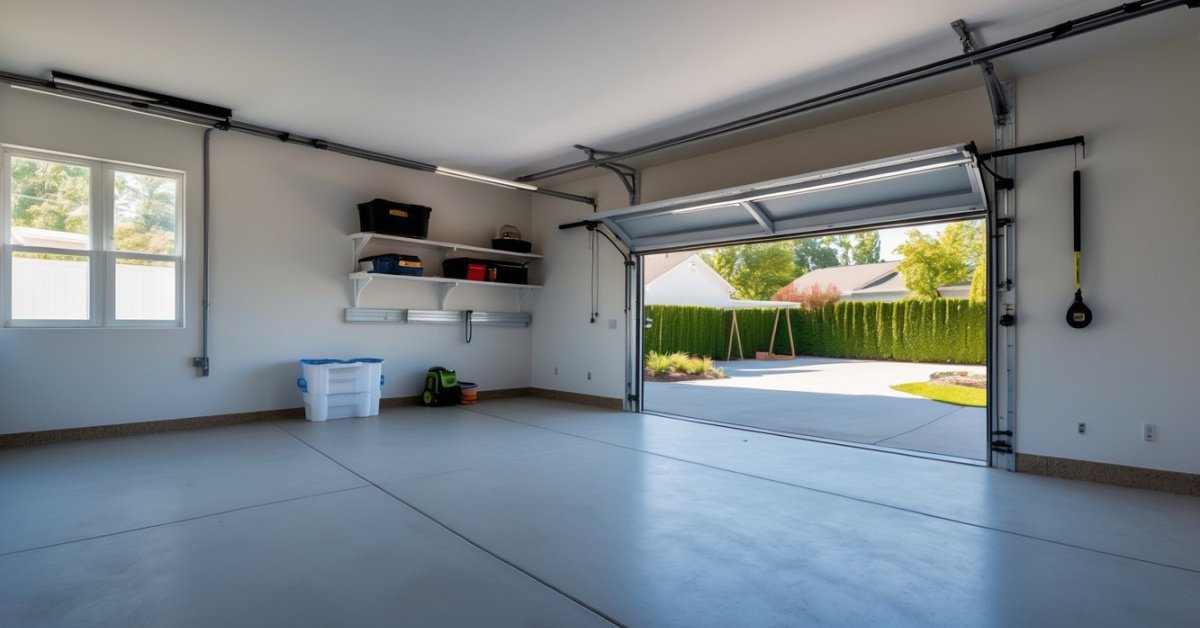
When I first looked at my garage, I saw a space that desperately needed some love. It’s easy to overlook, but a fresh coat of paint can completely transform the way a garage feels and functions. Suddenly, what was once a dull storage zone becomes a bright extension of my home.
I realized painting the garage isn’t just about looks—it’s a chance to create a space that inspires me every time I walk in. Whether I use my garage for projects, workouts, or just parking, a makeover can make it feel more inviting and organized. Plus, it’s a fun way to add a personal touch without breaking the bank.
Why Consider Painting Your Garage for a Makeover
Painting your garage transforms not just the look but also the function of the space. Clean walls and ceilings support any garage style from a home gym to a workshop, making organization easier and light reflection stronger. Durable paint surfaces help control dust and make maintenance simple compared to bare drywall or concrete.
Fresh color choices support specific usability goals. Light tones—like soft gray, white, or beige—make tool storage feel clean and professional. Bold accent areas, for example behind workbenches or shelving, highlight zones for hobbies or storage and create visual order.
A painted garage increases resale appeal if you plan to sell your home. Homeowners in the US often look for finished garages, with high-contrast paint finishes signifying a well-maintained and valuable storage area. According to the National Association of Home Builders, about 80% of buyers see garage condition as an important factor when choosing a property.
Safety and comfort benefit from a finished paint job. My clients notice fewer slippery surfaces after I use non-slip paint on floors, and brighter paint increases visibility at night or in poor weather. Sealed walls and floors resist mold or moisture, ideal for storing valuable tools or fitness equipment.
Paint protects surfaces from damage. I often use epoxy coatings for floors to resist stains, chemical spills, and impacts, especially for vehicle storage or DIY projects. These upgrades minimize repair costs over time.
Each of these benefits aligns with proven strategies for optimizing garage spaces, providing both immediate results and long-term value.
Choosing the Right Paint and Color Scheme
Choosing the right paint and color scheme changes not only how the garage looks but also how useful the space becomes. I match every finish and shade to the purpose and daily use of the garage, boosting both performance and style.
Types of Paint Suitable for Garages
Selecting paint for garages means picking products that resist dirt, impacts, and moisture. I usually recommend these options:
- Epoxy coatings: These add a high-gloss, durable layer that’s easy to clean and shields concrete from oil, salt, and abrasions.
- Acrylic latex paint: This offers flexibility for walls and ceilings, making it a good choice for areas that face temperature shifts or small surface flaws.
- Polyurethane finishes: These create strong barriers on high-traffic floor zones, which works well for workshops or lifting platforms.
- Masonry paint: This sticks to block or brick, stopping dust and moisture penetration while keeping the surface easy to wipe down.
Matching product type to each surface maximizes longevity and minimizes future maintenance.
Selecting Colors for Maximum Impact
Picking the right palette changes garage mood, light, and organization. I use these strategies:
- Light shades: White, pale gray, or beige make small garages seem bigger and brighten work areas by reflecting natural and artificial light.
- Bold accents: Red, blue, or yellow create easy-to-see work zones or help mark storage sections, supporting easy navigation and less clutter.
- Neutral mid-tones: Charcoal, taupe, or soft greens ground the look, hide smudges, and provide a calm backdrop for gear and equipment.
- Custom combos: Sport or brand-inspired themes (like black-and-orange or silver-blue) give clients a personalized, energetic vibe that’s ideal for home gyms or hobby spaces.
Color zones create intuitive organization, while reflective surfaces boost visibility and safety. I always prioritize palettes that make maintenance simple and the space more inviting for daily use.
Preparing Your Garage for Painting
I always find that the right prep brings out the best results in any garage makeover. Before picking up a paintbrush, I make sure the space is clean, secure, and ready to hold up to years of daily use.
Cleaning and Repairing Surfaces
Garage wall and ceiling cleaning removes dust, grease, and cobwebs that stop paint from sticking. I sweep, then use a mild detergent and warm water, scrubbing stains on drywall, wood, or brick until the surface feels dry and smooth. I scrape flaking paint and sand rough patches to create an even workspace.
Structural repairs add long-term durability. I patch cracks or holes with spackle or exterior filler for drywall, masonry, or concrete. For humidity-prone garages, I apply a stain-blocking primer after repairs to keep mold and odors from bleeding through fresh paint.
Protecting Floors and Fixtures
Floor and fixture protection streamlines cleanup and keeps the final finish crisp. I roll out a thick drop cloth or plastic sheeting across the garage floor, taping seams with painter’s tape for full coverage. I cover shelving, garage doors, outlets, and workbenches with plastic or painter’s film, taping off trim and electrical boxes so lines turn out sharp. For garages with exposed overhead lights or hardware, I wrap fixtures in plastic or newspaper to stop accidental splattering during painting.
Setting up a protected workspace saves effort and preserves every upgrade I put into transforming a standard garage into a purpose-built, optimized space.
Step-by-Step Guide to Painting Your Garage
Painting transforms a garage from a purely functional storage spot to a custom, optimized workspace. I always follow key steps to make sure the finished result is durable, clean, and elevates the whole space.
Essential Tools and Materials
A garage painting project requires specialized supplies to achieve a smooth, pro-level finish.
- Paint rollers and extension poles: These reach tall ceilings and speed up large wall jobs.
- Angled brushes: These let me cut clean lines around outlets, cabinets, and trim.
- Sandpaper and sanding blocks: These smooth rough patches and prep surfaces for primer.
- Painter’s tape: This protects windows, baseboards, and fixtures from stray paint.
- Drop cloths or plastic sheeting: These cover floors, workbenches, and anything not being painted.
- Cleaning supplies: Heavy-duty degreasers and scrub brushes handle garage grime.
- Patch filler and putty knife: I use these to fill cracks or holes in concrete or drywall.
- Primer and sealant: Primer improves coverage, especially on bare or stained surfaces.
- Paints: Epoxy for floors, acrylic latex for walls, and masonry paint for brick or block.
All these tools fit well in a standard five-gallon bucket for easy transport during the job.
Painting Walls, Floors, and Ceilings
Optimizing each garage surface gives the makeover a complete and polished look.
- Walls: I start with primer for drywall or block, sealing stains and boosting paint adhesion. Acrylic latex paint goes on next in two coats, using rollers for open wall areas and brushes for tight spots.
- Ceilings: I select flat, light-reflecting paint to maximize brightness and conceal imperfections. Rollers on extension poles make overhead work fast and safe.
- Floors: I clean and degrease fully before etching concrete to maximize epoxy bond strength. After patching cracks, I roll out two-part epoxy, adding non-slip chips for extra safety in work or gym zones.
- Edges and details: I use painter’s tape to mark sharp transitions for accent walls or color blocks that define fitness, tool, or storage zones. Lines must be crisp to accentuate different areas cleanly.
A complete garage paint job supports customized workstations, seamless storage, better lighting, and improved comfort—integral upgrades for anyone maximizing garage value and usability.
Tips for Achieving a Professional Finish
Prep walls thoroughly before painting for a smooth finish. I clean all surfaces with a degreaser and use a putty knife to fill nail holes or cracks. I sand repaired spots until they’re flush, which helps primer and paint sit flat and durable.
Invest in quality painter’s tape and edge brushes for sharp lines. I tape trim, outlets, windows, and baseboards right before priming. I remove tape as soon as the final coat’s tack-free, which prevents peeling or uneven edges.
Use primer on all previously uncoated drywall, patched areas, and concrete. I choose stain-blocking primers for spots prone to moisture or oil stains, especially around floor edges, workbenches, or water heaters.
Paint with consistent brush and roller technique for even coverage. I roll paint from top to bottom in a “W” shape and blend brushwork at corners or edges right into rolled areas. I apply at least two thin coats instead of one thick layer, which gives a smoother, longer-lasting result.
Ventilate garages well while painting for quick, uniform drying. I open doors and run fans, pointing them away from freshly painted surfaces, which helps reduce humidity and speeds up curing.
Check drying times between coats to prevent issues. I wait the manufacturer’s recommended time before a second coat or removing drop cloths, as temperature and humidity in garages can slow drying.
Seal floors with an epoxy or polyurethane coating for maximum durability. I apply two-part epoxy with a squeegee and backroll for even coverage, wearing spiked shoes so I can walk on wet floors and maintain a flawless surface.
Inspect painted areas once dry to catch touch-up spots. I fix roller marks, drips, or patchy coverage immediately, which ensures my garage transformations always look crisp and professional.
| Step | Pro Tip |
|---|---|
| Wall Prep | Clean, fill, sand, and dust all surfaces |
| Taping | Use high-quality tape, remove before fully dry |
| Priming | Spot-prime stains and high-traffic zones |
| Painting | Apply 2 thin coats, use “W” strokes, blend edges |
| Ventilation | Use fans, open doors, avoid painting in humid weather |
| Floor Coating | Use epoxy or polyurethane, wear spiked shoes |
| Final Inspection | Check for flaws, touch up before final cleanup |
Maintaining Your Newly Painted Garage
Regular Cleaning
I keep garage surfaces looking fresh by sweeping up dust and wiping down walls with a damp microfiber cloth once a month. For stains or scuffs, I use a mild detergent diluted in water and rinse lightly. This easy routine prevents build-up and preserves the clean finish, especially on high-traffic floors.
Moisture Control
I monitor humidity levels using a digital hygrometer, aiming to keep the garage below 50% relative humidity when possible. If I notice condensation or water intrusion, I seal gaps with weatherproof caulk and install a dehumidifier for ongoing protection. This step avoids peeling paint and fungal growth.
Touch-ups and Repairs
I inspect corners, doors, and high-use areas every quarter for nicks or chips. When I spot damage, I clean the area, sand lightly, and apply leftover paint or a matching touch-up kit. Touch-up maintenance lets me extend the lifespan of original coatings and keep the whole space looking sharp.
Protective Mats and Pads
I use heavy-duty mats under vehicles, bikes, or heavy equipment to shield the painted floor against tire marks or dropped tools. Storage racks get felt pads or bumpers to avoid wall scrapes. These quick additions help keep surfaces in original condition longer.
Avoiding Abrasives
I don’t use wire brushes, harsh scrubbers, or strong chemical solvents on painted surfaces. Gentle cleaning tools and neutral, non-abrasive solutions avoid scratching or dulling specialized garage paint finishes.
Annual Inspection
Every year, I walk through the garage to check paint for fading, flaking, or water stains. I document problem zones and prioritize repairs before issues get bigger. Early identification safeguards both aesthetics and structure.
Temperature Management
I optimize comfort and longevity by installing weather stripping and, where possible, using a portable heater or fan to limit temperature swings. Consistent climate helps paint last and makes the garage a better workspace year-round.
Reference Table: Maintenance Schedule and Tasks
| Task | Frequency | Tools/Supplies |
|---|---|---|
| Sweep/Wipe Surfaces | Monthly | Broom, microfiber cloth, detergent |
| Humidity Check | Ongoing/Monthly | Digital hygrometer, dehumidifier |
| Touch-up Paint | Quarterly/As Needed | Touch-up paint, sandpaper |
| Add/Check Mats | As Needed | Vehicle mats, felt pads |
| Inspect for Damage | Annually | Notebook, flashlight |
| Temperature Adjustments | Seasonal | Weather stripping, heater/fan |
With these garage maintenance strategies, owners protect their investment and ensure the makeover delivers both utility and style for years.
Conclusion
Giving my garage a fresh coat of paint turned out to be one of the most rewarding home projects I’ve tackled. It’s amazing how a bit of color and the right preparation can completely change the vibe and usefulness of a space I once overlooked.
Now my garage feels like an extension of my home—organized inviting and truly my own. If you’re thinking about a makeover don’t hesitate to grab a brush and get started. You might be surprised by just how much you’ll enjoy the transformation.


