
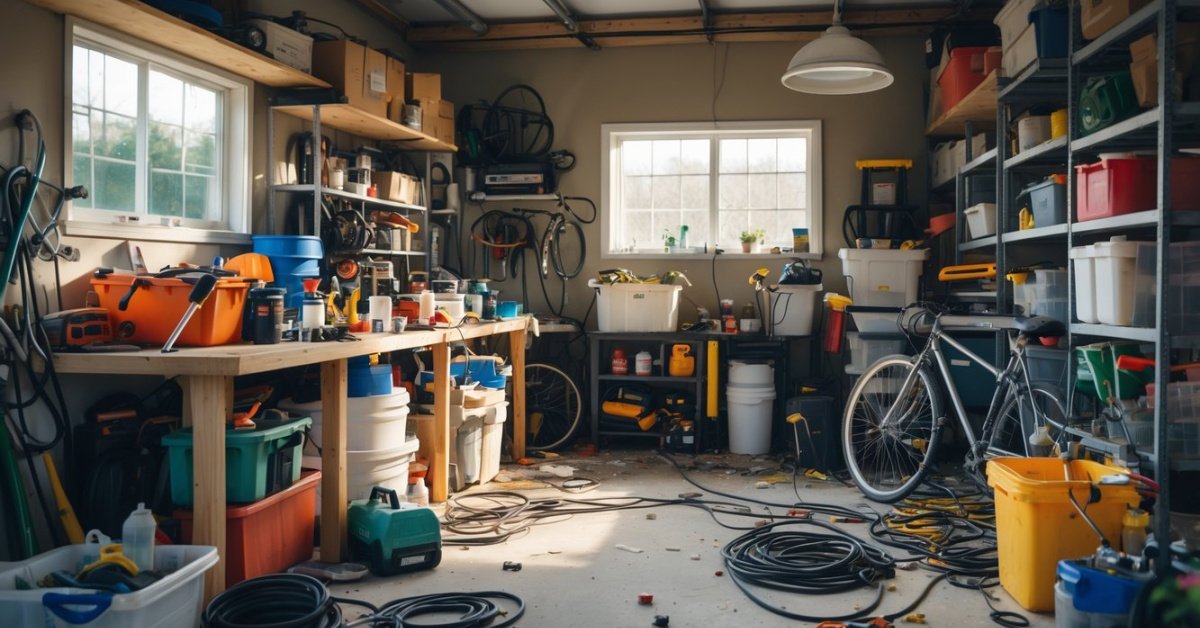
I spend a lot of time in my garage tinkering with projects and working on my car. After a while I started to notice how stuffy and stale the air could get especially when I was running power tools or the engine. It made me wonder just how much poor ventilation could affect my health and comfort.
That’s when I realized a simple upgrade could make a huge difference. Installing a garage exhaust fan isn’t just about clearing out fumes or dust—it’s about creating a safer and more comfortable space to work in. Whether you use your garage for hobbies or just parking your car better air quality is something I knew I couldn’t ignore.
Why Air Quality Matters in Your Garage
Air quality in a garage directly affects how safe and usable the space becomes for work or storage. Vehicle exhaust, paint fumes, and dust from power tools, for example, create a build-up of particulates and chemicals that linger without proper ventilation. I see this in most conversions, especially where the garage serves as a workshop, gym, or home office.
Contaminant exposure in enclosed spaces can irritate the eyes, throat, and lungs according to the EPA. Fuel vapors and carbon monoxide from idling engines, for instance, quickly reach unsafe levels in small, unventilated garages, making it dangerous to spend any length of time inside.
Odor accumulation, moisture caused by temperature differences, and airborne debris impact both stored items and your comfort. HVAC systems usually don’t extend into attached garages, so relying on natural airflow rarely maintains acceptable air quality.
Consistent air movement, like what an exhaust fan provides, helps reduce risks and transforms the garage into a space fit for hobby projects, storage, or even everyday living. Improving air quality directly supports broader garage optimization by keeping tools, vehicles, and finished surfaces in better condition as well.
Benefits of Installing a Garage Exhaust Fan
I see improved air quality in every garage after adding an exhaust fan. Removing fumes from car exhaust, paint, or cleaning products lowers airborne toxins. Better airflow means a garage feels fresher and safer for workshops, gyms, or storage.
I notice lower humidity after installation, which helps prevent mold and mildew on surfaces and stored items such as cardboard boxes, tools, or sports gear. Moisture reduction extends the life of wood shelves, electronic equipment, and metal hardware.
I find that odors from gasoline, fertilizers, or trash bins dissipate quickly with constant exhaust, making the space suitable for projects or even entertaining. Odor control also means a cleaner smell in adjacent parts of the home when the garage connects directly to the house.
I see lower temperature spikes during summer when an exhaust fan is running, especially in west- or south-facing garages. Removing hot air helps maintain stable conditions for temperature-sensitive items, like paint, adhesives, and automotive fluids.
I notice that clients can store more valuable or delicate items once the exhaust fan is in place: bikes, power tools, musical instruments, or camping gear all last longer and require less frequent maintenance. The garage becomes a safer, more versatile extension of the home for any creative use.
Choosing the Right Exhaust Fan for Your Garage
Selecting the right exhaust fan helps my clients get the best air quality and comfort in their redesigned garage spaces. I match each solution to the unique needs of the garage, ensuring efficient ventilation and the best use of space.
Key Features to Consider
Motor durability, airflow capacity, and noise levels matter most for garage exhaust fans.
- Motor durability affects longevity; for example, sealed motors resist dust from woodworking and help the fan last years.
- Airflow capacity, measured in cubic feet per minute (CFM), indicates how quickly the fan exchanges garage air. Fans rated above 250 CFM handle power tool dust or vehicle exhaust well.
- Noise levels influence comfort, with models below 60 decibels (dB) ensuring you can work, host guests, or relax without loud background noise.
- Built-in humidity sensors and automatic shutoff add convenience and safety, particularly when garages double as gyms or living areas.
- Energy efficiency matters for frequent use, with certified energy-saving fans lowering running costs over time.
Sizing Your Exhaust Fan Properly
Calculating the right size keeps the garage’s air fresh and the space usable for any activity.
- Standard garages range from 200–400 square feet. For most uses, I recommend selecting a fan that provides at least 1 CFM per square foot of floor space.
- For hobby spaces with welding, painting, or frequent vehicle use, I increase the capacity by 50%. For instance, a 400-square-foot garage needs at least a 600 CFM model for heavy-duty tasks.
- Compact garages or rarely used storage spaces function well with lower CFM ratings, but multi-use areas or shops always benefit from stronger airflow to keep contaminants out.
- Ceiling height also impacts calculations; I multiply the floor area by ceiling height and by eight (for eight air changes per hour) to ensure fast clearance of fumes in creative workshop layouts.
| Garage Size (sq. ft.) | Minimum Fan CFM | Heavy-Use Fan CFM |
|---|---|---|
| 200 | 200 | 300 |
| 400 | 400 | 600 |
| 600 | 600 | 900 |
I guide my clients to match the fan to their current and planned garage use, making air quality an asset—no matter how they transform the space.
Step-By-Step Guide to Installing a Garage Exhaust Fan
Efficient exhaust fan installation transforms garage air quality and maximizes safe, versatile use of the space. I streamline the process with reliable methods and straightforward tools.
Tools and Materials Needed
Proper installation of a garage exhaust fan needs specific tools and materials:
- Tape measure for marking precise fan locations
- Cordless drill with screwdriver bits for mounting
- Jigsaw or reciprocating saw for cutting vent openings
- Screwdrivers and adjustable wrench for securing components
- Stud finder to avoid cutting structural members
- Caulking gun with exterior sealant for weatherproofing penetrations
- Vent cover or louvered exterior shutter to protect the opening
- Ducting and clamps if routing airflow through walls or ceilings
- Safety goggles, mask, and gloves for personal protection
Fans like Broan, iLiving, and Panasonic offer models with installation kits that include mounting brackets and weatherproof gaskets.
Installation Process Explained
I detail each core installation step for clarity and safety:
- Planning exhaust fan location increases airflow efficiency; I place fans opposite doors or main work areas, avoiding load-bearing walls.
- Marking and cutting the vent hole with a jigsaw ensures easy fitment; I measure twice and cut once, typically allowing a 1/4″ clearance for sealing.
- Mounting the exhaust fan with manufacturer brackets guarantees stability; I anchor into studs where possible for long-term support.
- Wiring the fan to a dedicated circuit improves safety and code compliance; I use wire nuts and junction boxes rated for wet locations if needed.
- Installing exterior vent covers prevents rain and pests from entering; I secure these with weatherproof screws and exterior sealant.
- Testing fan operation confirms effectiveness; I run the fan to check airflow and listen for vibration or excessive noise.
If garage airflow improvement is the goal, each installation step directly supports optimal air quality and a more adaptable, comfortable space.
Tips for Maintaining Optimal Air Quality
Keeping garage air fresh helps me create a space that’s safe, comfortable, and ready for any project. Consistent air quality measures support long-term use and protect anything stored inside.
Regular Maintenance of Your Exhaust Fan
Cleaning fan blades and vent grills every 3 months prevents dust buildup and keeps airflow steady for garages used for woodworking, vehicle storage, or home gyms. Inspecting electrical connections and fasteners twice a year reduces the risk of breakdowns or fire hazards in busy garage workshops. Lubricating moving parts on belt-driven fans ensures quieter operation for those who repurpose their garages as home studios or offices. I replace worn filters or damaged fan parts as soon as I notice reduced airflow, especially for garages storing vehicles or chemical supplies.
Additional Ventilation Strategies
Integrating passive air vents along opposite walls increases cross-ventilation in single-car and two-car garages converted into multipurpose rooms. Installing a dehumidifier helps manage moisture levels when garages double as workout spaces or laundry areas. Opening doors or installing windows with screens further boosts air exchange during projects involving paint or chemicals. Using air purifiers with HEPA filters captures dust and allergens if the garage serves as a hobby space or an extension of the home. I combine these ventilation strategies to make garages more functional, comfortable, and better suited for any owner’s goals.
Conclusion
Installing a garage exhaust fan has transformed the way I use my space and how I feel about spending time there. I can breathe easier knowing that harmful fumes and lingering odors are no longer an issue.
With the right fan and a few simple maintenance habits my garage now feels more welcoming and versatile. It’s become a space that supports my hobbies and keeps my stored items in better shape.
If you’ve been thinking about improving your own garage air quality this project is well worth the effort. You’ll enjoy a safer more comfortable environment every time you step inside.


