
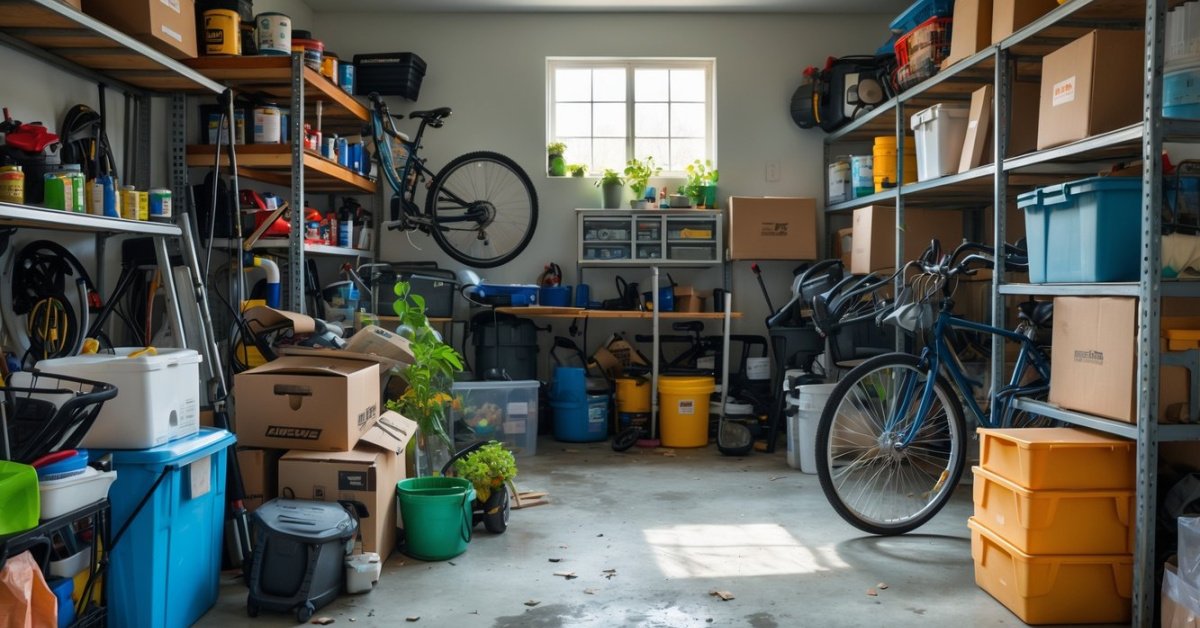
Whenever I step into my garage I notice how quickly dust and grime seem to collect on the walls and ceiling. It’s easy to ignore these areas since they’re not in the main part of the house but a clean garage can make a huge difference. A fresh space not only looks better but also feels more organized and inviting.
I’ve learned that cleaning garage walls and ceilings doesn’t have to be a massive chore. With a few simple steps I can tackle the mess and keep things looking sharp. Let’s dive into how I make this task quick and satisfying.
Why Cleaning Garage Walls and Ceilings Matters
Cleaning garage walls and ceilings directly supports space optimization. Unclean surfaces create dust which settles on stored items, workbenches, and vehicles, limiting organization efforts. Dirty walls like those with oil stains or mold hide damage that interrupts renovations or garage conversions, for example, moisture entering through cracks.
Freshly cleaned walls and ceilings boost the overall appearance and make it easier to identify areas for storage upgrades, such as shelving or panel installations. I find that removing debris creates the canvas needed for every creative garage improvement, from sports gear racks to fold-down workstations. Clean spaces also contribute to property value because buyers check for well-kept utility areas, according to data from the National Association of Realtors.
Improved air quality follows surface cleaning, especially when removing built-up dust, insulation fibers, or cobwebs. Poor air quality affects both comfort and long-term equipment reliability—the Environmental Protection Agency advises reducing dust to avoid respiratory irritation in utility areas. Clean walls and ceilings make painting, sealing, or organizing more effective and lead to truly optimized garage conversions.
Essential Supplies And Preparation
When I start optimizing a garage, cleaning the walls and ceiling always comes first. Preparation improves both the efficiency and results of cleaning, setting a reliable foundation for upgrades.
Safety Precautions to Take
Wearing protective gear reduces health risks when cleaning garage walls and ceilings, especially in dusty or mold-prone environments. I use safety goggles to prevent debris from reaching my eyes. I also wear a dust mask or respirator when working with cobwebs, old insulation, or chemical cleaners. I choose gloves to protect my skin from harsh cleaning solutions and any old residue, such as grease or mildew.
Using a sturdy ladder provides steady support while reaching high ceilings or upper wall sections. I always ensure the ladder’s feet stand secure and avoid overreaching to prevent falls. Good ventilation is essential, especially if cleaners give off fumes, so I keep garage doors and windows wide open.
Gathering the Right Cleaning Materials
I gather a set of reliable cleaning tools before starting any garage wall or ceiling project. Soft-bristle brushes remove loose dust and spider webs from textured wall surfaces. Microfiber cloths catch fine particles on drywall or painted finishes. Bucket, mild detergent, and warm water clean most moderately dirty surfaces without damaging paint or drywall.
For tough stains or grease, degreasers or a mix of vinegar and water break through buildup. Large sponges and extendable mops cover ceiling areas quickly. I keep a putty knife nearby to gently remove old paint flakes or caked-on debris. For mold or mildew, a non-abrasive cleaner like a diluted bleach solution ensures surfaces are safe for storage and prevents recurring issues.
| Essential Garage Cleaning Supplies | Usage Context |
|---|---|
| Safety goggles, mask, gloves | Personal protection |
| Sturdy ladder | Reaching ceilings and higher wall areas |
| Soft-bristle brush | Dust removal from textured surfaces |
| Microfiber cloths | Wiping drywall or painted walls |
| Bucket, mild detergent, warm water | General cleaning |
| Degreaser or vinegar solution | Removing grease and tough grime |
| Large sponge or extendable mop | Washing larger wall and ceiling surfaces |
| Putty knife | Scraping off paint flakes or debris |
| Diluted bleach or non-abrasive cleanser | Mold or mildew treatment |
Having the right preparation and supplies lets me work faster and helps maintain a clean, healthy foundation for any garage optimization project.
Step-By-Step Guide to Cleaning Garage Walls
Cleaning garage walls removes debris and reveals their true condition. I always start with the basics to deliver the best results for every garage optimization.
Dusting and Removing Surface Dirt
Dusting garage walls helps create a clean base for any transformation. I use a long-handled soft-bristle brush or a microfiber duster for initial sweeping. For corners and along the ceiling line, I reach with my brush to dislodge cobwebs and trapped dust. Vacuum cleaners with brush attachments also work, especially on textured surfaces like drywall or concrete. I always wipe down light switches, electrical outlets, and shelving brackets with a barely damp microfiber cloth to prevent buildup on surfaces people touch most.
Tackling Stains and Mold
Removing stains and mold is key before any additional upgrades. I spot-treat grease or scuff marks using mild detergent mixed with warm water, scrubbing with a sponge and rinsing with clean water. For mold, I use a mixture of one part bleach to three parts water, applying the solution with a cloth. I let it sit briefly, then scrub and rinse thoroughly, always ensuring the area dries completely with open windows or fans. When I see persistent stains or suspected water damage, I inspect for leaks or cracks to prevent future buildup—eliminating hidden issues that could interfere with future garage projects.
How to Clean Garage Ceilings Effectively
Cleaning ceilings in the garage creates a healthier space and exposes design upgrades. I approach this step with attention to detail because a spotless ceiling increases long-term project success.
Addressing Cobwebs and Debris
Removing cobwebs and loose debris from garage ceilings creates a smooth surface for further cleaning and inspections. I use a telescoping duster or a vacuum with an extension wand to reach rafters, pipes, and corners. Tackling rafters and junction boxes first, I dislodge webs and sweep dust toward the center for easier collection. Afterward, I vacuum around light fixtures and sensors to ensure no residue remains. Clearing surfaces this way reveals any paint damage or signs of leaks before moving ahead with deeper cleaning.
Stain Removal and Finish Care
Treating stains on the garage ceiling resets the surface for conversion work like insulation or fresh paint. I spot-treat grease or mildew spots using a soft cloth dampened with a mild detergent solution. For tougher oil-based stains, I apply a degreaser, working in small circles to prevent streaking. Mildew gets addressed with a diluted bleach mixture—one cup bleach per gallon of water—while I avoid oversaturation to protect finishes. Rinsing with a clean, barely damp cloth, I let the area dry completely so the finish stays intact. In spaces with painted or finished drywall, I stick to gentle cleansers to avoid stripping the surface, which makes my renovation work more efficient and tidy.
Tips for Preventing Future Dirt and Damage
Regularly inspecting garage walls and ceilings for early signs of dust, mold, or cracks gives me the chance to address minor issues before they require major repairs. I recommend dusting high surfaces monthly and spot-checking corners for cobwebs or water stains, especially near doors and windows.
Sealing and painting wall and ceiling surfaces with moisture-resistant coatings protects against leaks, stains, and long-term buildup. I use products with mold inhibitors for garages in humid regions to minimize biological growth.
Installing dedicated storage systems, such as wall-mounted cabinets, slatwalls, or shelving, maximizes floor space and reduces clutter that collects dust. Protecting stored items in clear bins or sealed tubs keeps grime off both belongings and surfaces.
Improving ventilation with exhaust fans, dehumidifiers, or louvered vents benefits air circulation, reduces humidity, and prevents dampness. I prefer positioning vents near the ceiling to promote consistent airflow.
Placing door sweeps and weatherstripping at entry points limits dust and pests from entering. I periodically check these seals and replace them if I find gaps, particularly on garage doors.
Keeping liquids like paint or automotive fluids in leak-proof containers and wiping up spills immediately maintains clean floors and walls. I monitor for signs of leaks under cabinets and around storage racks.
Scheduling deep cleans every 3-6 months supports long-term cleanliness for renovated garage spaces. After each deep clean, I reassess storage solutions and wall/ceiling conditions for new optimization opportunities.
Conclusion
Taking the time to clean my garage walls and ceiling always pays off. It’s amazing how a little effort can make the whole space feel brighter and more welcoming. I’ve found that regular upkeep not only protects my storage and tools but also helps me spot small issues before they turn into big ones.
With the right supplies and a simple routine, keeping my garage in top shape feels totally doable. I love knowing my garage is ready for whatever project or upgrade I have planned next.


